
Often I am asked about how I create my labels. I have gotten pretty good about putting a label on each quilt as I finish it. It is because I have devised a process that works for me. I prefer to attach the label to the quilt backing before the quilt is quilted, so the label cannot be removed. It is pretty easy and quick. It is takes me less time to make a label than write this post. I use my word processing program (Microsoft Word) and fabric sheets that are pre-treated for putting through an inkjet printer.
 |
| Step1. Print the label Open your word processing program and type, at the minimum your name, date and where you can be reached just in case your quilt gets lost. Then add any other info you want included, especially if it is a gift for a special occassion. I also add a photo or piece of clip art. In this case, I included the tile that inspired this quilt. About 2 years ago, I decided to add what type of batting is inside. I can then see how a certain type of batting acts over time. After printing follow the directions that come with the pre-treated fabric. Trim the label with a 1/4" seam allowance and remove the backing paper. |
 |
| Step 2. Frame out the label Cut a strip of fabric 1 1/2" wide. Cut 2 strips equal to the measurement of the top and bottom. Sew it on with a 1/4" seam allowance. Press open. Measure the distance from top to bottom and cut 2 strips for the sides. Sew to the sides and then press open. |
 |
| Step 3. Prepare corner triangles Cut 4 squares that measure 2"x2". |
 |
| Step 4. Sew the squares to each corner Position a square in each corner and sew across it diagonally. |
 |
| Step 5. Press open to form the triangles aligning the edges of the square with the label. |
 |
| Step 7. Trim Using a roatry cutter and a ruler, open the triangle and trim the fabric 1/4" from the seam. |
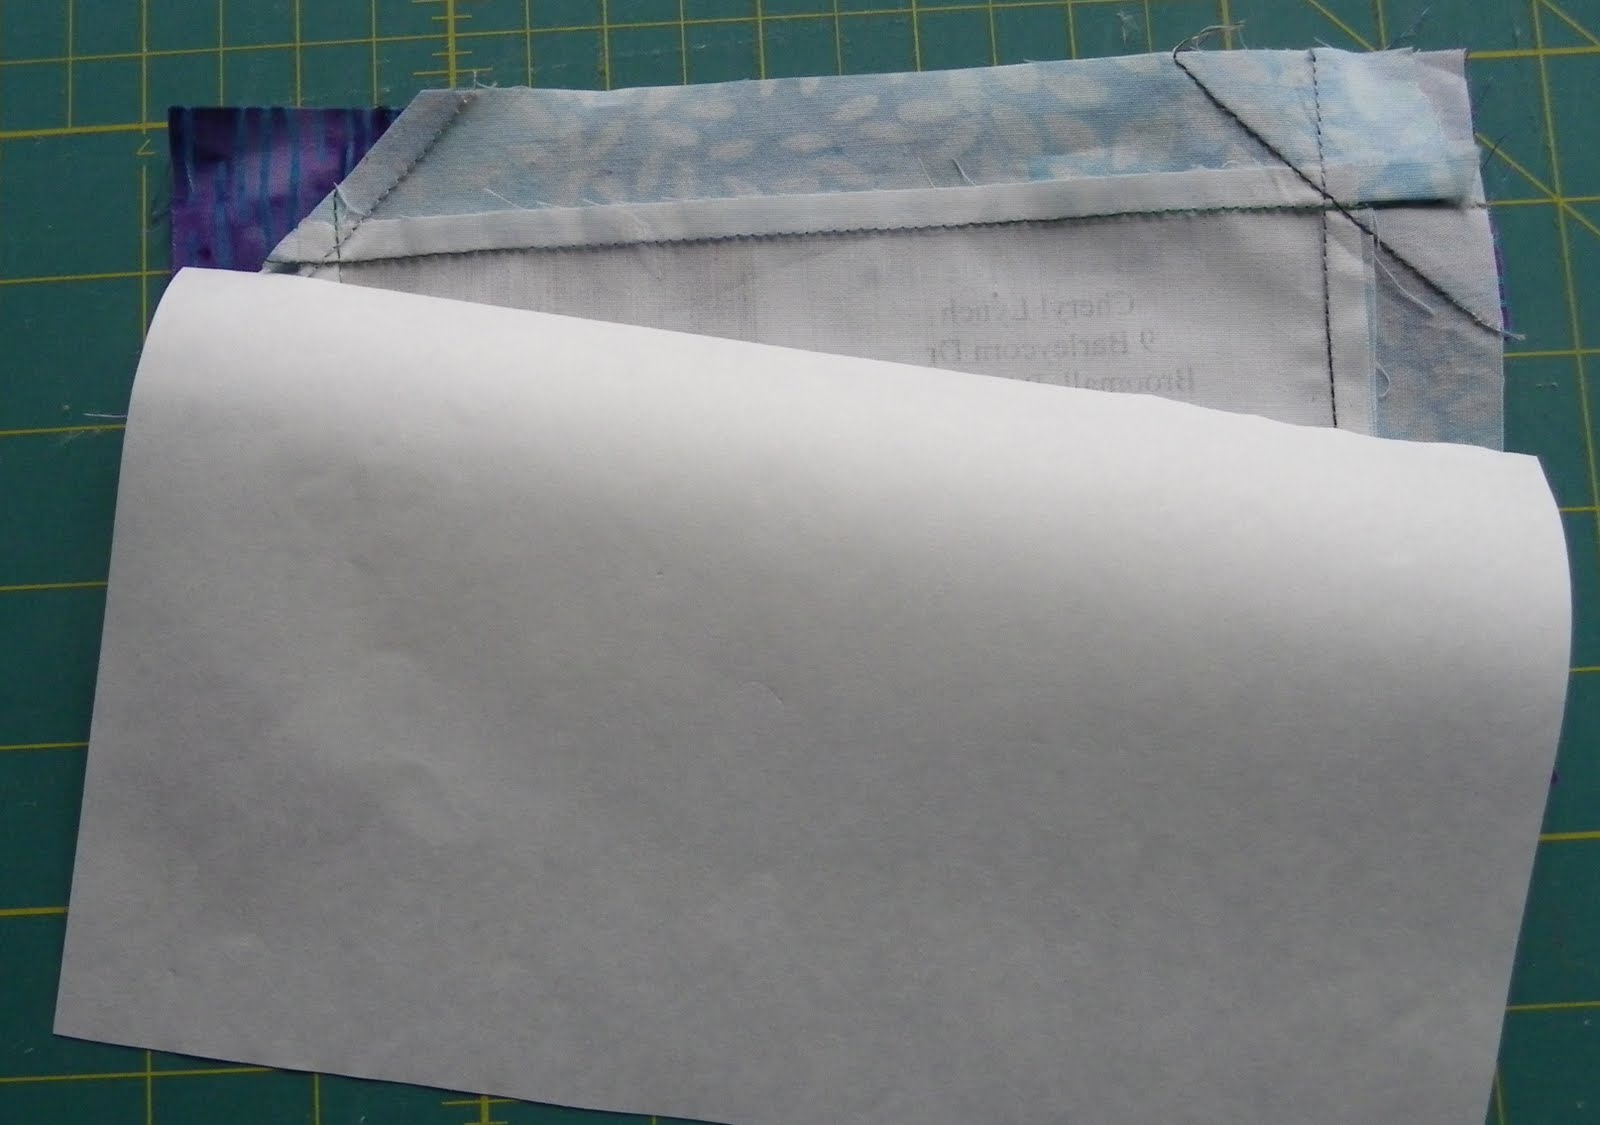 |
| Step 8. Prepare For Applique Cut a piece of paper backed fusible web such as Heat n Bond or Wonder Under the same size as the label. |
 |
| Step 9. Fuse Iron the fusible web to the back of the label following the manufacturer's directions. |
 |
| Step 10. Trim Trim the label so that the side borders measure 1". This will ensure a good seal on the edges. |
 |
| Step 11. Fuse Remove the paper and fuse the label to the right side of the quilt backing. |
 |
| Step 12. Stitch Stitch around the label. I use a blanket stitch. You can also use a top stitch, zig zag or any type of decorative stitch. |
 |
| Step 13. Finished |

