Saturday, August 30, 2014
Tea Party
Friday, August 22, 2014
The Good, The Bad And The Indifferent
It's time for some new additions to my quilting studio. I'm not much of a gadget person, but I have been in the mood for some upgrades and to try out some new products.
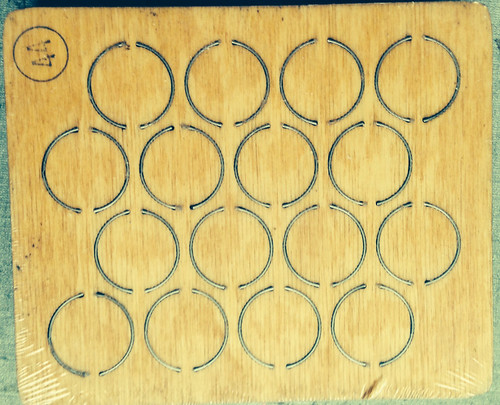
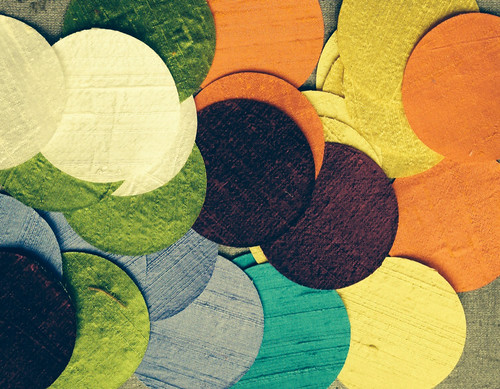
If you are familiar with my quilts, you know that I love circles. Over the years I have cut out hundreds of circles for my quilts. I own lots of different circle templates that I use to draw the circles and then I cut them out by hand. A tedious but mindful task. Now that I am promoting Curvalicious, I thought this was the time for a custom circle cutter for my Accuquilt Studio Cutter. I just wanted a die that would cut a bunch of 2" circles. So this frugal quilter bit the bullet and emailed Accuquilt for a price quote for a custom die. I received an email back the next day with quotes that ranged from $99-$120 depending on the number of circles I wanted the die to cut. I thought that wasn't unreasonable to save me hours of time. Then at the bottom of the email was one line that caught my eye " we also have a die for 2" circles that is currently on sale for $39". What? I clicked on the link and ordered the 2" die right then and there and also bought the 1" die also.
And ended up with a bunch of beautiful, perfect 2" circles in under a minute.
The other 2 items I purchased I'm not that crazy about. The first one, I purchased to save my iron and keep my ironing surface clean because I do a ton of fusing. No matter how careful I try to be, that fusible web has a way of being ironed onto places you don't want it to go. My solution up to now has been to lay a sheet of parchment paper down. That works pretty good but it's cumbersome.
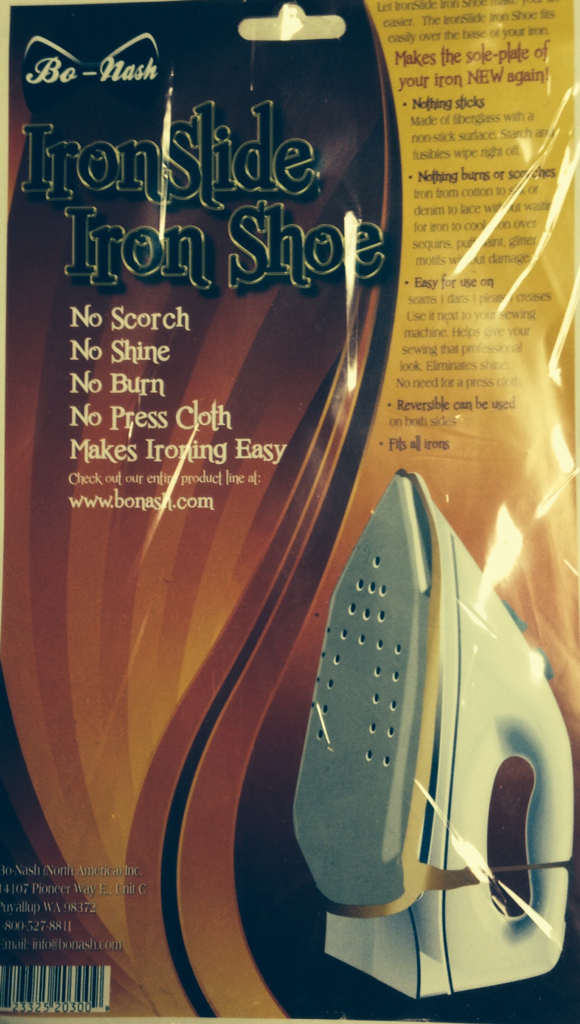
I read about the Bo-Nash IronSlide Iron Shoe. You attach it to your iron. This is what it looked like when it arrived.
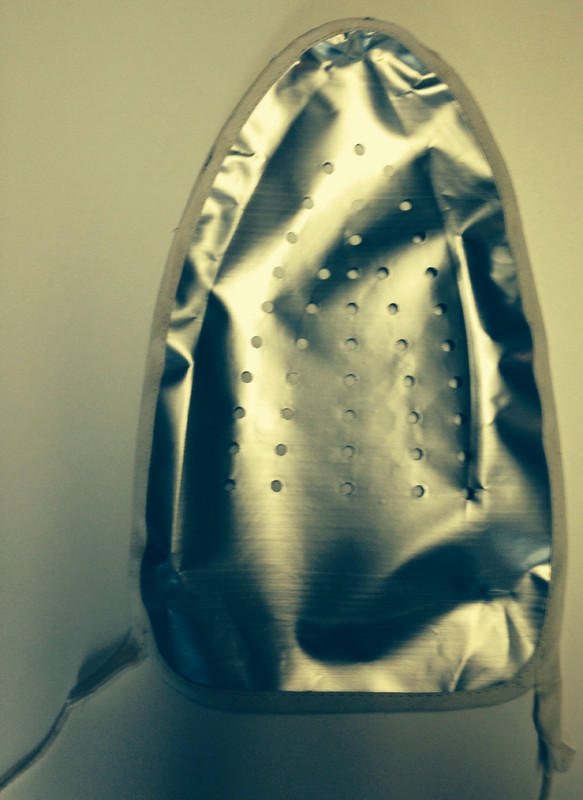
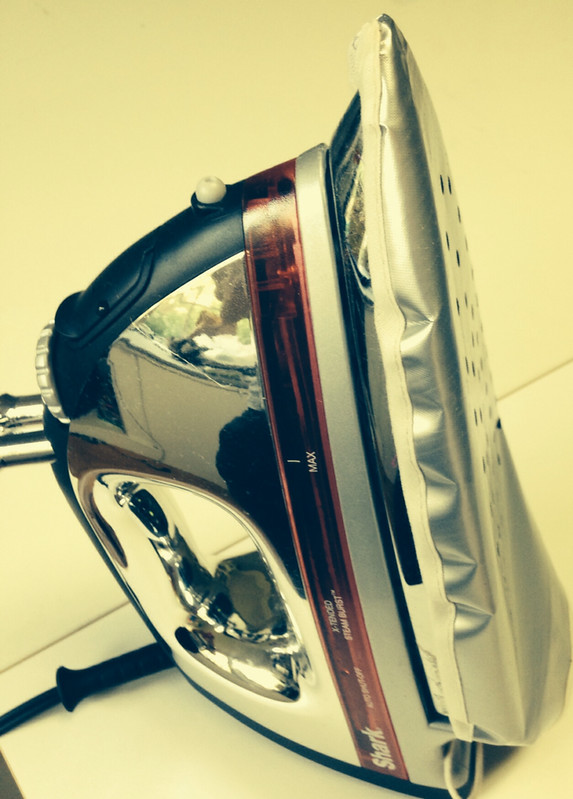
You attach it to your iron kind of Iike adding a new cover to your ironing board with the strings to tighten it. It's made to fit any iron. Although it will protect everything, I felt I lost any fine control at the tip of my iron. More importantly, the Teflon cover kept my iron from getting as hot as I wanted it.
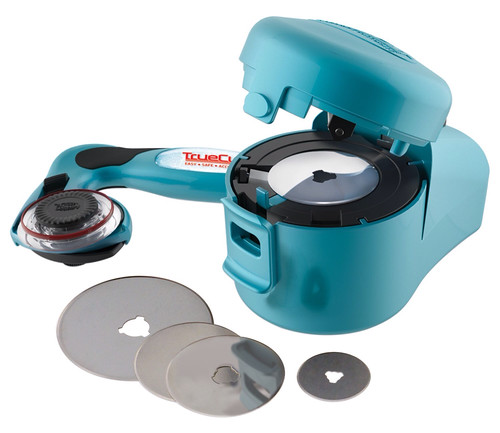
My biggest disappointment was this rotary blade sharpener. One of the women at one of my workshops had one. It can sharpen any size blade and I own lots of different size cutters. I love a sharp blade so I went home and ordered one. I couldn't wait to sharpen a bunch of my blades. I can only say that I was underwhelmed. I tried different size blades from different manufacturers. When I inadvertently dislocated the lid, I just threw the whole thing in the garbage!
Saturday, August 16, 2014
Something For Hubby
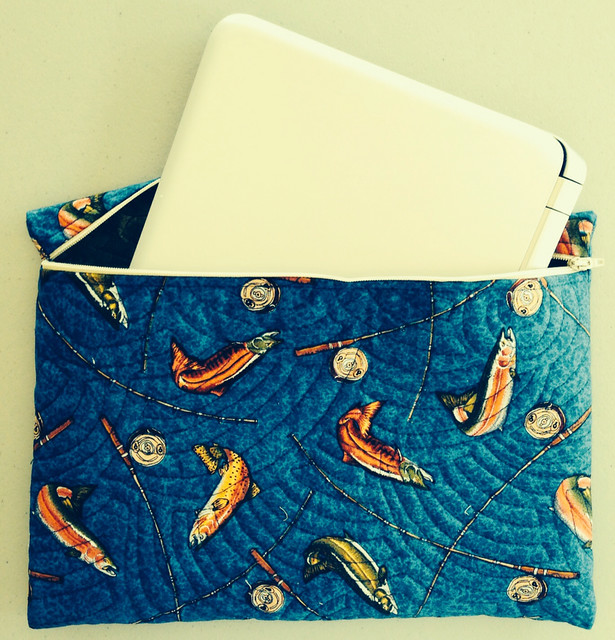
My husband's briefcase is being retired for something more casual. He wanted some protection for his small laptop, so he turned to his favorite quilter :-)
I have probably made about 50 of these zippy pouches in all different sizes using the directions found on Dog Under My Desk's blog. She has great step by step directions. You will never be afraid of sewing in a zipper again. This is the LINK. There are lots of tutorials out there, but this is my favorite.
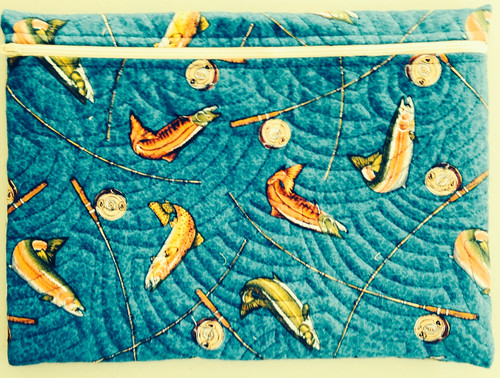
Although Mr. Conservative wanted a black pouch, I encouraged him to pick a fabric from my stash. Isn't this fabric perfect for someone who loves to fish? (And so much more fun than black!)
So I started by adding a few inches to the dimensions of the laptop, layered it with batting and a backing fabric. I picked a new quilting pattern to practice my free motion quilting. When the quilting was done, I trimmed the top and bottom edges so that they overlapped by 1 inch before I inserted the zipper. Then I slid in the computer and trimmed the sides so there was an extra inch on each side.
Success! He loved it.
Friday, August 8, 2014
A Well Loved Man
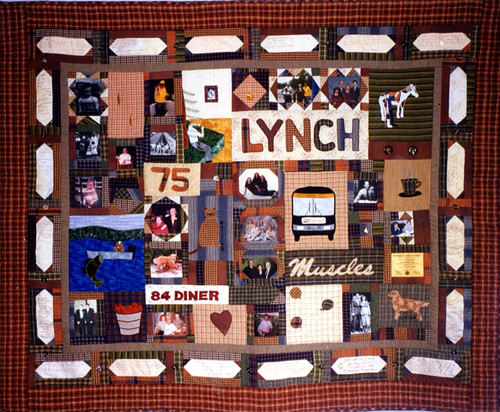
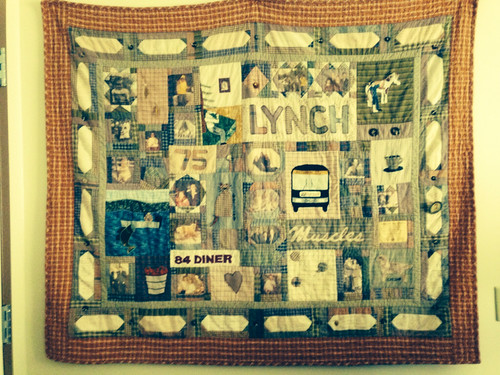
I made this quilt a little over 15 years ago for my FIL's 75th birthday.
It's all about those things that were important to him at the time and memories. It was such a fun project. I had input from my husband and his 6 siblings. There was a big party to celebrate and guests signed the cream colored fabric around the border. You can tell I made it during my homespun period. I thought those fabrics were manly. None of those fabrics are in my stash any more.
These are some of my favorite blocks:
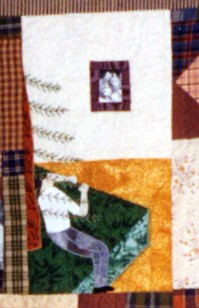
Falling asleep while putting up the tree late on Christmas Eve.
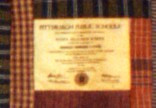
His high school diploma
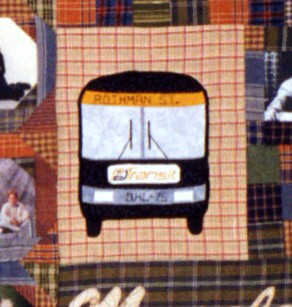
The bus he drove while working for the city if Pittsburgh
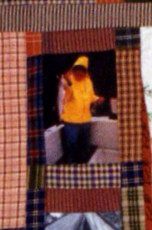
Catching a big one while fishing with us in Alaska
One of my SILs made sure this quilt followed him and hung on the wall wherever he lived. It shows some wear and tear, but it is still full of good memories.
My FIL was grandfather to 15 grandchildren and 7 great grandchildren.
He was loved and will be missed.

