Showing posts with label confetti quilting. Show all posts

Monday, May 16, 2016

Mini Mosaics Magic

It's quite an amazing day when there is a room full of 23 quilters that love my new technique for making mini mosaics. I'm always a little skeptical about the reception for a technique that uses tweezers and 3/8" squares of fabric.

But this was a group of my peeps! My fellow guild members. Even one who made a comment that I was crazy, a few months ago when I wrote about my Mini Mosaics on my blog. I knew they would be honest with me. So I was over the moon when the comments ranged from "it's addicting" to "this was the best workshop I've ever taken" to " this would be so much fun to do with my grandkids".

Here are some photos:

I was working on a psychedelic Bailey before the workshop. Thanks to the energy of my fellow quilters, I couldn't wait to go home and finish it. It looks just like her except it's in technicolor.

Show & Tell next month at our guild meeting is going to be so exciting. I think there will be lots of finished projects. Woo Hoo!

And even more good news is that everyone will be able to learn about it in a future issue of Quilting Arts, coming out this summer. I'll keep you posted. But of course I'm always available to teach you in person at your quilt guild.


Tuesday, December 29, 2015

First Finish of the Season


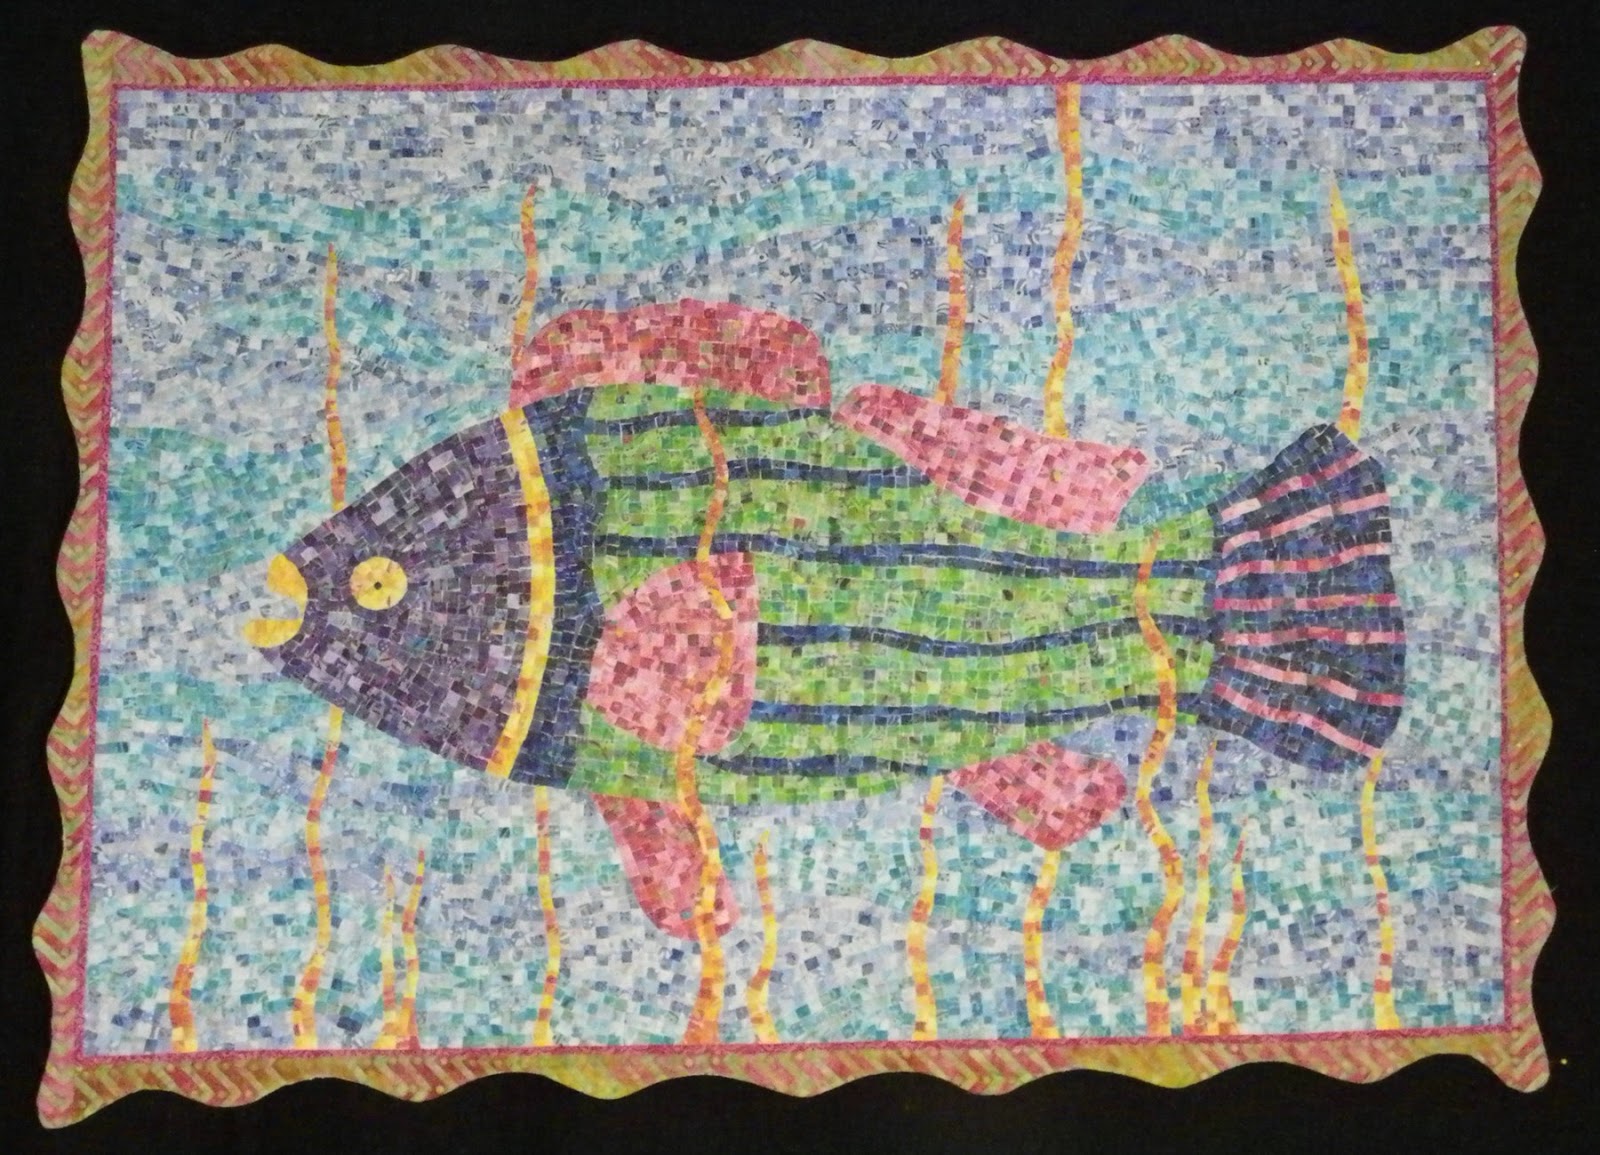
Most quilters share their first finish of the year, but my year really begins when I am settled in Key West for the winter months. My first finish was started 2 years ago. I have spent the time since then, maybe not all of that time, trying to figure out if I wanted to add a border. If I bordered the quilt, did I want to add a traditional border or make it out of tiny pieces of fabric like the body. This was how I left it. The hot pink fabric did a nice job of containing it. I was motivated to finish it so I could share it with my students during my class at the American Quilt Society Show at the end of this February in Daytona. It measures 48"W x 38"L.
Some of you may have seen my first attempt at a traditional border.

The dark blue was just too heavy. I unstitched it on the drive down here.
I had to make a visit to the local quilt shop, The Seam Shoppe, at great personal sacrifice, to look for a border fabric. Actually, it's like a homecoming. I love the owner Cindy and her son, Nick. Not only is it a quilt shop, but they also do reupholstery and decorating. They do a lot of reupholstering for hotels, boat owners and homeowners. They do amazing work and sometimes with the oddest shapes.
Cindy helped pick this fabric for my border. I wasn't 100% convinced, but it seemed to be the only choice. After attaching
2 1/2" borders along the edges, I knew I needed to "curvalicious" it. (Pardon my self promoting.) Happiness!!

And here are some close ups.

I love the texture that all the little bits of the different fabrics provide. I've come up with a fun name for this new technique, Confetti Quilting. What do you think?

Wednesday, December 23, 2015

22 Hours In The Car, What would you do?

What do you do on those long car rides, when you are not the driver? Two days sitting in the car as a passenger with a dog on my lap a good part of the time, would make me crazy if I had nothing to do but stare at the scenery. So on our drive to Key West, I try to have a bunch of projects. I apologize to those in advance, who get car sick while stitching or reading.

1. I unstitched a border from one of my quilts that had two rows of stitching. Don't ask. I was lazy. The border was just too heavy. I thought per emoting the border would be a good car project, and it was. I am still searching for a good border fabric.

2. Stitching the circles down on a Curvalicious skinny quilt.

3. Hexies - This is my new fascination. I think it will occupy me for many hours. I am intrigued by La Pascigalia quilts. If you don't know what they are, search for them on Pinterest. If you don't know what Pinterest is, I can't help you.


I love the gluing. I haven't started the stitching yet, but this is my plan.


4. My book for the trip was "The Little Spark" by Carrie Bloomston. Carrie is a creativity coach and motivator. This book is meant to be used as a workbook. The beginning of the book is about how to begin and overcome the fear of failure. I have lots of ideas for quilt projects, but often lack focus and sometimes have the fear that my project won't turn out the way that I have envisioned. She says that you shouldn't be stingy with your art supplies, because that could hinder you.

I am looking forward to reading more of this.

We are settling in to our home away from home.

My sewing machine is set up and I may even get to sew today. I will certainly share my projects as I go as well as share any of my Key West adventures. I decided not to start a sketching project as I have done in years past, because I never follow through. I never even get past a week or two. There are a couple of classes at the local arts center(TSKW.org) that I am contemplating. I have even volunteered there to help host events.

Wishing all my friends that celebrate, a very Merry Christmas, filled with family and love and lots of good food. I miss you already.


Wednesday, September 5, 2012

Wednesday's Wanderings #38 - Happy Birthday!

Happy Birthday!!


It's my birthday this week and I thought I would make myself the cake of my dreams!
I do LOVE cake. 
I have a couple of friends that are as crazy about cake as I am. 
When the topic of cake comes up,  all of our eyes light up as if we won the lottery.

I quilted the background with a stitch I learned from my friend Christine.  I loved this stitch and even though it has been years since the first time I saw it, this is the first time I used it.  It reminds me of confetti and that's why I thought it was perfect for the birthday block.


I used a bunch of different embellishing on the different layers. 
I decorated the bottom layer with "pearls" hanging from triangle jewels.


I separated the layers with a piece of pearl trim.

The middle layer was embellished with star sequins and beads.  I really like using a polka dot fabric.  They're lots of fun to use as the basis for embellishments.

I beaded the top layer with a variety of beads. 

You may be wondering why there are 2 candles on the top of the cake. 

 There is a very simple reason.  It's because a very special person shares this birthday with me. 
It's my husband!  An amazing coincidence.
He tells people that he had to search high and low to find someone to marry with the same birth date.

To finish the creation of the cake of my dreams, I must choose the flavors of the 3 different layers.  I have seen this on those dream wedding TV shows, so why can't I have a cake with 3 different flavors?
#1 - Vanilla cake with coconut frosting
#2 - Hazelnut cake with milk chocolate frosting
#3 -  Chocolate cake with mocha filling

(I hope one of my DILs reads this.  They are both terrific bakers.  HINT.  HINT.)

And here's The Giveaway:
I want someone to celebrate my birthday with me.  I have made a second birthday block that is finished like a mini quilt.  Leave a comment and become a follower of my blog to be eligible to win it. The best birthday present would be for me to get to 300 members. (A girl can dream.) If you're a blogger, please share the love and feel free to post my giveaway on your blog - pretty please.
 I will pick a name and reveal it on my next Wednesday's Wanderings. 
 YOU NEED TO COME BACK NEXT WEDNESDAY TO SEE IF YOU HAVE WON.
(I will name the winner at the end of next week's WW.)