The inspiration for "Concentricity" was found walking the sidewalks of St Augustine, FL. Every once in a while, there would be these tiles. They really struck me because I love circles in circles. I used whatever beautiful fabric that I could find. Some had a little bit of glitz to them. I used silk, cotton, lame and some types of metallics. They were carefully fused to each other. Careful is the operative word, because many of these fabrics would melt if the ion was too hot. I hand stitched them to each other with all kinds of beautiful threads. The name comes from these concentric circles.
So, why am I saying good bye? "Concentricity" is leaving home for one year of travelling. It was accepted into a special exhibit, titled "Tactile Architecture", sponsored by the International Quilt Association (IQA). The first stop is their show in Houston. This is one of the most prestigious quilt shows. I am honored to have a quilt exhibited there. It will then spend the rest of the year traveling to their other shows.
When I am creating a quilt, it starts with an idea. Next comes the color choices and then usually the fabric. I have to say that I hardly ever have the entire quilt designed before I start. The quilt evolves as I piece it together. So of course then I get to the point where I NEED a certain type of fabric that I don't have on my shelves.
The dilemma then becomes where to go. There are no fabric stores around the corner. It becomes a road trip. But I want to make sure that the odds are good that wherever I go I will find what I need. Quilt shops have the personalities of their fabric buyers. If I need a certain type of fabric, I go to a certain store. The project I am working on is made from batik fabrics. I decide to head out to Burkholders out in Lancaster County - a mere 1 1/2 hrs away. My traveling companions are up for a road trip, so my husband and Bailey pile into the car.
We head out to the quilt shop via the PA Turnpike. This shop did not disappoint. There was recently a bit of a change in ownership. But I have to tell you that the shelves were packed. There was over a 30ft long aisle filled with batiks. If I couldn't find something here. The batiks were $7.99/yd and if you are a guild member they give you a 12% discount. I found several options and bought them all. Yipppeee! Success!!
Then we headed for lunch at this nearby luncheonette, where the food is good and cheap. And we were able to eat outside at their picnic tables with our chow hound.
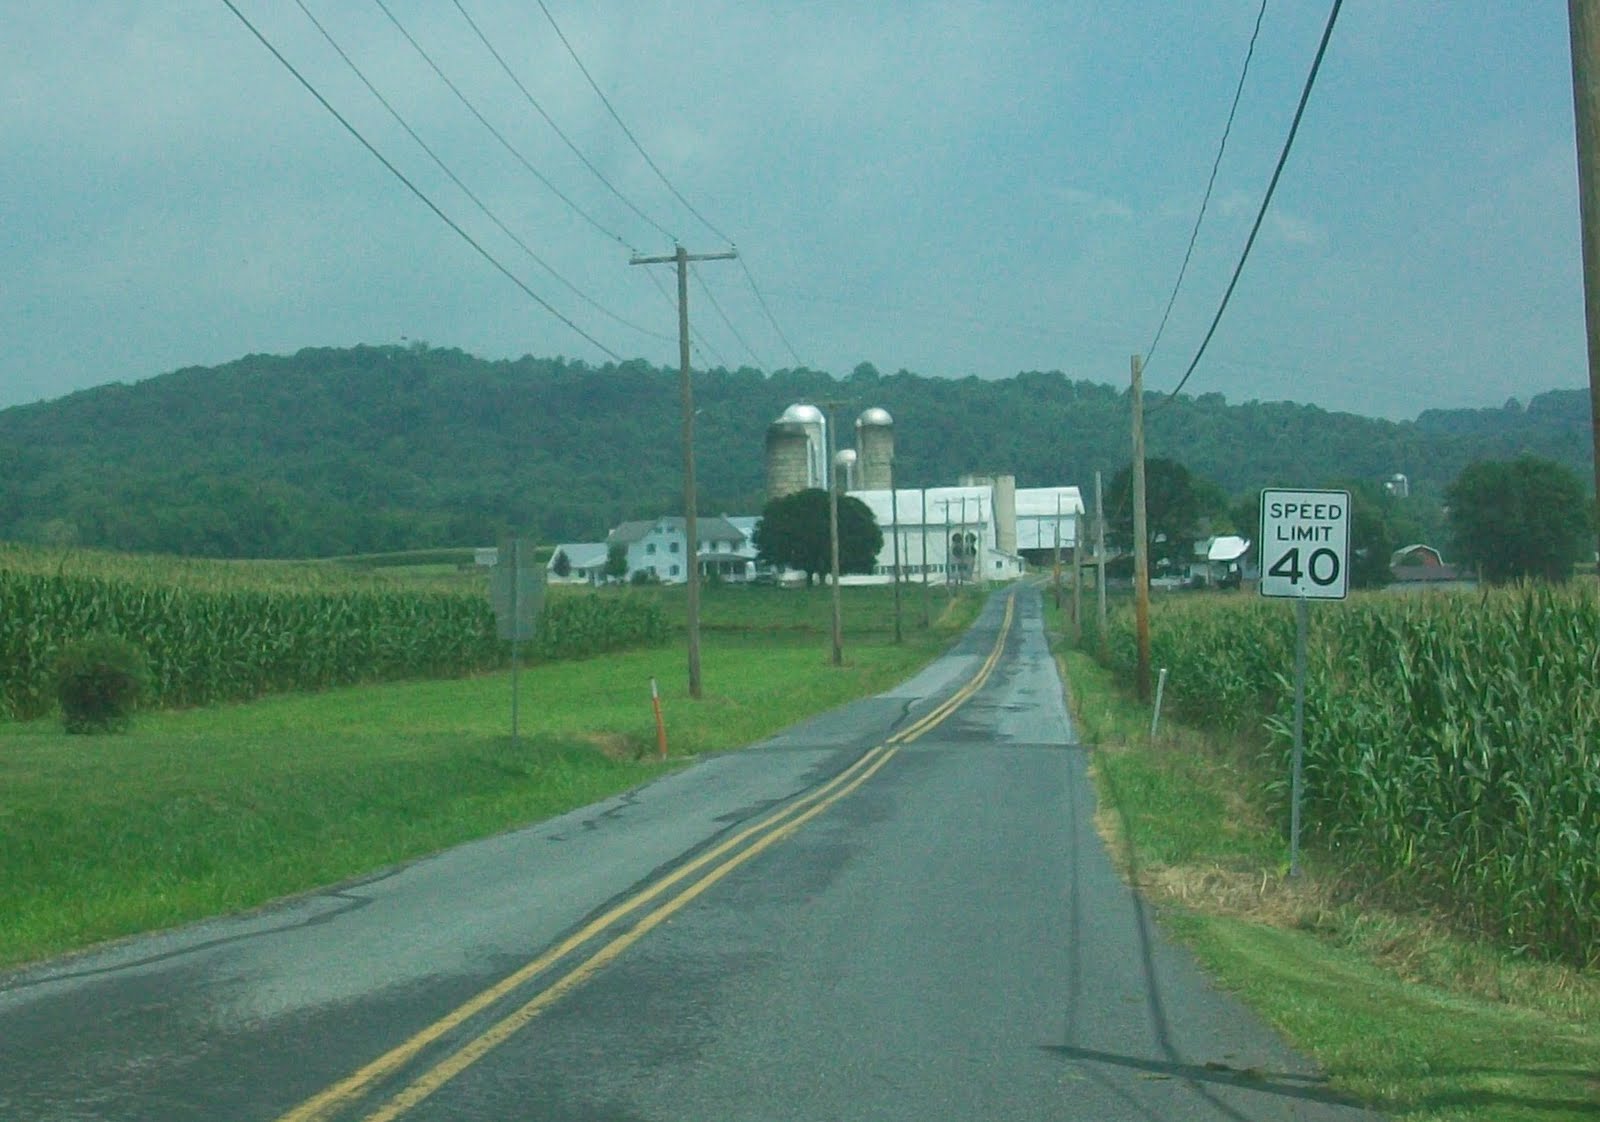
We decided to mosey on home via a country road to get our fill of farm scenery and stop at farmstands for locally grown produce for our dinner. The sky was so blue and there was corn growing as far as the eye could see. You can't even count the number of farms. Barns and silos everywhere dotting the countryside.
Maybe not a farm, but I couldn't resist.
How could this not make you smile?
A wagon full of canteloupes with 2 adorable Amish girls hiding behind it. The canteloupe was as sweet as candy.
Finally, a new OyVey! Quilt Designs pattern. This pattern has been on the drawing board for about 2 years. It has been on my website with a caption of "Coming Soon".The covers were printed and so were the foundation paper pieced patterns that I had printed on newsprint. What took me so long? Procrastination and other things just got in the way. So here I present, Starry, Starry Night - a Dreidelrunner:
I am excited about this pattern, because it is the first time that I know of, that a Jewish star has been presented as an easy to piece, foundation pattern. You can make it as a table runner or as a wall hanging. Thank you to all of you who so patiently waited.
This past weekend was my son's girlfriend's birthday. I was told it was her golden birthday. You only have one golden birthday and this made it a very special and very big deal. What you ask is a golden birthday? I asked the same question myself. A golden birthday is when the date of your birthday matches how old you are. So Loren was going to be 25 years old on the 25th of July.
I had never heard of a golden birthday. I asked friend after friend after friend if they had ever heard of such a thing. I got the same answer from everyone - NO. So I decided that this was a family tradition, but was definitely happy to be included. Who doesn't love a birthday party.
After dinner out, we went back to her parent's house for dessert and gifts. Wasn't I surprised when she showed me a card from her Grandmother and Grandfather, who live in Ohio, that said Happy Golden Birthday! But the best part of the evening was watching this normally reserved young woman open her gifts. With such excitement and oohs and aahs, she was thrilled with everything. And then this budding Julia Child opened her special Golden birthday gift from her parents and started to cry - a professional stand mixer. Pure joy!
And then I had to encourage the quilter inside of her and her love of Kaffe:
When she was sad that she was turning 25, I teased her that she was now a quarter of a century. She didn't think that was funny. I thought back to those days and how I thought that turning 25 made me feel old, and now that I am older than half a century, it really wasn't old at all. I told her that the best is yet to come. Life just keeps getting better and better as you get married and have children and grow old with someone that you love. As your children grow and mature and become adults that you admire. The best is yet to come.
My last post was a tutorial on how to paper piece. After thinking about it overnight, I had this idea that maybe it would be a good idea if I offered an actual pattern for those of you that want to try it. So I designed this birdhouse pattern that you can play around with. It is certainly suitable for beginners and it is quite versatile if you want to play with it.
Here is the pattern. To print you own copy of it, place the cursor over it and right click with your mouse.
Click on Copy Image. Then open Microsoft Word. right click with your mouse and then click on paste. The pattern should appear. If you then click on it, you can adjust the size. My pattern size was 8"High x 4" Wide.
So following the directions in the previous post, my paper pieced birdhouse looks like this:
Then I decided to make a bunch of them and create a small wall hanging. I varied the height of each birdhouse, added extra sky to the top of each one and varied the height of the grass. I ended up with this piece that measures 16"x23".
The purpose of this tutorial is to give sewers visual directions to help them learn paper piecing. People either love or hate this technique. But it is a great way to get perfectly sharp points and/or to piece in unusual shapes and it is easy. My primary purpose in presenting this via photos was to help anyone who has not used this technique before to be able to complete any pattern of mine (OyVey! Quilt Designs) that uses paper piecing. However, it can be used to make any paper pieced project.
The first step is to have the pattern. If you need multiple patterns or do not want to use the paper foundation included with the pattern, the best way to make duplicates is to use the pattern as a guide. Staple 4-6 layers of either newsprint or tracing paper together. Make sure the staples are not crossing any of the seam allowances. With your sewing machine and an unthreaded needle. lengthen your stitch length to the longest possible and "sew" along all of the lines, including the cutting lines. This will perforate the paper. After separating the patterns, number them to match the pattern.
The best way to insure success is to pre-cut your fabric to the approximate size. I tend to stick with triangles and rectangles. I cut them at least 1/2" larger than needed and use rectangles for irregularly shaped pieces. There is definitely more fabric wasted using this technique versus a traditional method of piecing, but I think it's worth it.
1. Cut out each individual paper foundation pattern, making sure to cut outside of the dotted seam allowance. (Some patterns will have multiple sections.)
2. For each section, center the appropriate piece of fabric in the #1 position, on the bottom side of the paper, right side facing away from the paper.
3. Pin minimally to keep the fabric from moving.
4. Trim the fabric so that it extends ¼” over the sewing line between piece #1 and #2. (Hold the paper up to the light to see the lines.)
5. Align piece #2, on top of piece #1, along the line separating their sections, raw edges and right sides together.
6. Shorten the machine stitch by about 75% and stitch with the paper side up, along the line between piece 1 and 2 starting and ending a few stitches before and after the stitching line.
7. Iron piece #2 open.
8. Folding back the paper, trim the fabric so that it extends ¼” over the sewing line between piece #2 and piece #3.
9. Continue adding the pieces: aligning, sewing, pressing and trimming, until all of the pieces have been added.
10. Trim each pattern along the dotted line, aka the seam allowance.
11. Remove the foundation paper after the piece has been bordered
If you are anywhere near Hershey, PA this weekend, you must go to Quilt Odyssey. You will not be disappointed. In its 11th year, this quilt show has the most amazing, highest quality quilts for such a small show. Several of the quilts I have seen either on the cover of a magazine or having garnered the highest honors at much larger quilt shows. The predominant trend is beautiful applique with unbelievable quilting. Long arm quilting is the quilting of choice. And on most of these quilts, there was only one person listed in the write-up. This means that the quilter making the quilt is has also mastered long arm quilting.
To stay with the theme of beautiful applique with amazing long arm quilting, the quilt made by a group of women volunteers (I think it was 35 volunteers) at Longwood Gardens won a well-deserved second place ribbon for their quilt, "Seasons of Pollination". It was machine quilted by Lisa Calle. A couple of my friends were involved in this collaborative project. The quilting can best be seen in the light colored background.
There are 147 judged quilts in the show. In addition, there was an extensive display of 4 block quilts from the late 1800's, early 1900's. These quilts were predominantly applique and red and green.
This was my first time at this show. So I was quite surprised when we left the ballroom with the quilts. The quilts were in one room and then we headed to the other room that was FULL OF VENDORS! So remember I just counted the quilts listed in the program and they numbered 147. There were 83 booths in the vendor hall. It was shopping heaven. I bought things I didn't even know I needed. And more.
As my gang left the show, laden with bags and bags of goodies, we congratulated ourselves for doing our patriotic duty and supporting the economy. Now to get to all those projects.