Wednesday, July 11, 2012

Wednesday's Wanderings #29 & #30 - Slow Down and Smell the Coffee

Slow down and smell the coffee.


That's what I decided to do this week.
1.  I've made time to meet with some non-quilting friends for coffee. 
2.  I'm trying to learn to like to drink coffee, starting with it in the iced form,
so that I can meet my friends for a cup.
3.  Hand stitching slows me down and lowers my blood pressure.


I have an admission to make.  I often have issues with contrast.  It has happened again with this block.  The choice of the polka dot background, although potentially interesting, detracts from the hand stitching.  It is a lesson that I learn over and over, but I keep experimenting because sometimes  I end up with something fun and exciting. 
So I did take a "mulligan" (as my golfing friend has taught me) and redo this block. 
 
If you'd like to try it, here's the pattern I designed.


Sunday, July 8, 2012

Being A Francophile

I came across this adorable video this morning.  Click on the link for a most delightful treat!

The timing could not have been better.  The bicycle race known as The Tour de France started last Saturday, June 30th.  These amazing athletes will ride their bicycles for 3497 km or 2172miles.  Those that survive will ride into Paris on Sunday, July 22nd sipping champagne.

I used to be an avid cyclist.  I would spend hours on my bike during the weekends, often riding over 100 miles.  I was lucky and  traveled many places such as Spain, Canada, the Fingerlakes of NY, the Outerbanks of NC and I even rode my bike across the entire state of North Carolina from the mountains to the shore.  Bicycling consumed my life.  I was the most fit I had ever been.  I had little time for quilting.  This ended several years ago and now with 2 broken shoulders and 50 lbs heavier, I still love to watch the pros ride their bikes and I do enjoy an occasional bike ride, especially with Bailey in my basket.

My most favorite bicycling vacation was a trip to France.  It was during The Tour and my husband was with me.  It was a group trip.  We would spend the days riding through the most beautiful little villages and the nights eating 3 hour dinners.  We stayed in a village called Autun in the Burgundy region.  It was 2007.


The best day of the trip was the day that the cyclists rode through Autun.  In the morning, the leaders of our trip led us on a ride over a section of the day's stage early in the morning.  There were fans and  RVs already lining  the road waiting for the pros. But in the meantime, they were happy to cheer us on. At first I felt a little self-conscious ( being the slowest one of the group) and then I started waving and just enjoying the entire experience. 

The riders were to come through Autun in the afternoon.  We hit the little market and stocked up on baguettes, cheese and meats and headed to our hotel room overlooking part of the course.  With the TV giving the commentary in French, we waited for the riders to come past our window.  It was one of those European style windows that opened like shutters.  We knew when the riders were close and as they approached, we leaned out our window and cheered them on as they rode by. 
 Allez!  Allez!


Saturday, July 7, 2012

I am done Couching

I am done "couching" and ready to do some sewing again. In actuality, my couching lasted less than 2 days. But I was able to do some fun sewing before I start my new project next week, which is a commission for the local synagogue.

My friend Ann owns a tablecloth business and she called to tell me they were doing a bunch of cleaning and did I want some fabric before it was thrown out.  She let me pick through a mountain of her tablecloth remnants a few months ago. This bright pink velvet caught my eye.


I knew exactly what I was going to do with it.  I needed to make a pillow/dog bed for my BFF, Bailey.
I embroidered her name.  It was a little hard to sew because it was so slippery.  I wasn't proud of my workmanship, but the button tufting really improved its appearance.


Then while cleaning my studio (aka searching high and low for something that I never found), I came across a bag filled with an assortment of red, white and blue fabric in various stages. Obviously I had started something, but I can't remember what! But this is a great start for a quilt for a veteran and perfect for this time of year. My quilt guild donates quilts to the local VA hospital.


I turned the contents of the bag into the quilt below.  


Now it will wait to be quilted.


Wednesday, July 4, 2012

Wednesday's Wanderings #28 - Happy Birthday America!


HAPPY BIRTHDAY AMERICA!!!

Freedom, apple pie, fireworks, the red white and blue.
I am proud to be an American.

Everyone loves fireworks, no matter where you live, whether you are 8 or 80.  My goal was to make something recognizable with fabric and thread.

This is the story of how I became the owner of hot fix Swarovski crystals and a heating tool to apply them.  I have seen these crystals on quilts of varying quality.  Several of these quilts were of award winning quality at some of the most prestigious quilt shows. 

 I just could not see myself gluing these crystals to my quilts.  Glue? I have no problem sewing on beads or sequins or buttons, but glue?  No, I don't think so.   But, never say never.  Some crystal bling is just what is needed.

   I was inspired for my WW by the fireworks to come, tonight.  I thought about how to achieve those flashes of light.  After quilting the background of the block by machine, I hand stitched the streams of light using a 12 wt rayon/metallic thread called Dazzle. 

It looked pretty good, but it did need a spark of bling!

These are 3mm hot fix Swarovski crystals. 
They are the smallest ones I could find in the local chain craft stores.
 I'm glad I had a coupon because they are very expensive.  This little bit cost almost $5.00.


The crystals have glue on the back that is activated when it is heated with this special tool.


I glued the crystals to the tail ends. You have to heat each one for 30 seconds.
 (I can't imagine applying hundreds of these to those award winning quilts.)


Just the right touch of bling.

 
Happy 4th!

Wednesday, June 27, 2012

Wednesday's Wanderings #26 Oh Glorious Day & #27 "Couching"


 After the week that I have had, there is no doubt that the subject of  this week's WW would be the wedding and the chuppah. My memory isn't very good, so I am thrilled with the notion that a few years from now I'll be able to look at the quilt made from all of these blocks and be able to reminisce about 2012.


 I am getting pretty good at making these little blocks.  I started working on 'the chuppah" first thing in the morning and finished it by lunch, albeit a late lunch.  This is Block #26. 
I'm halfway there.  Woo Hoo!!

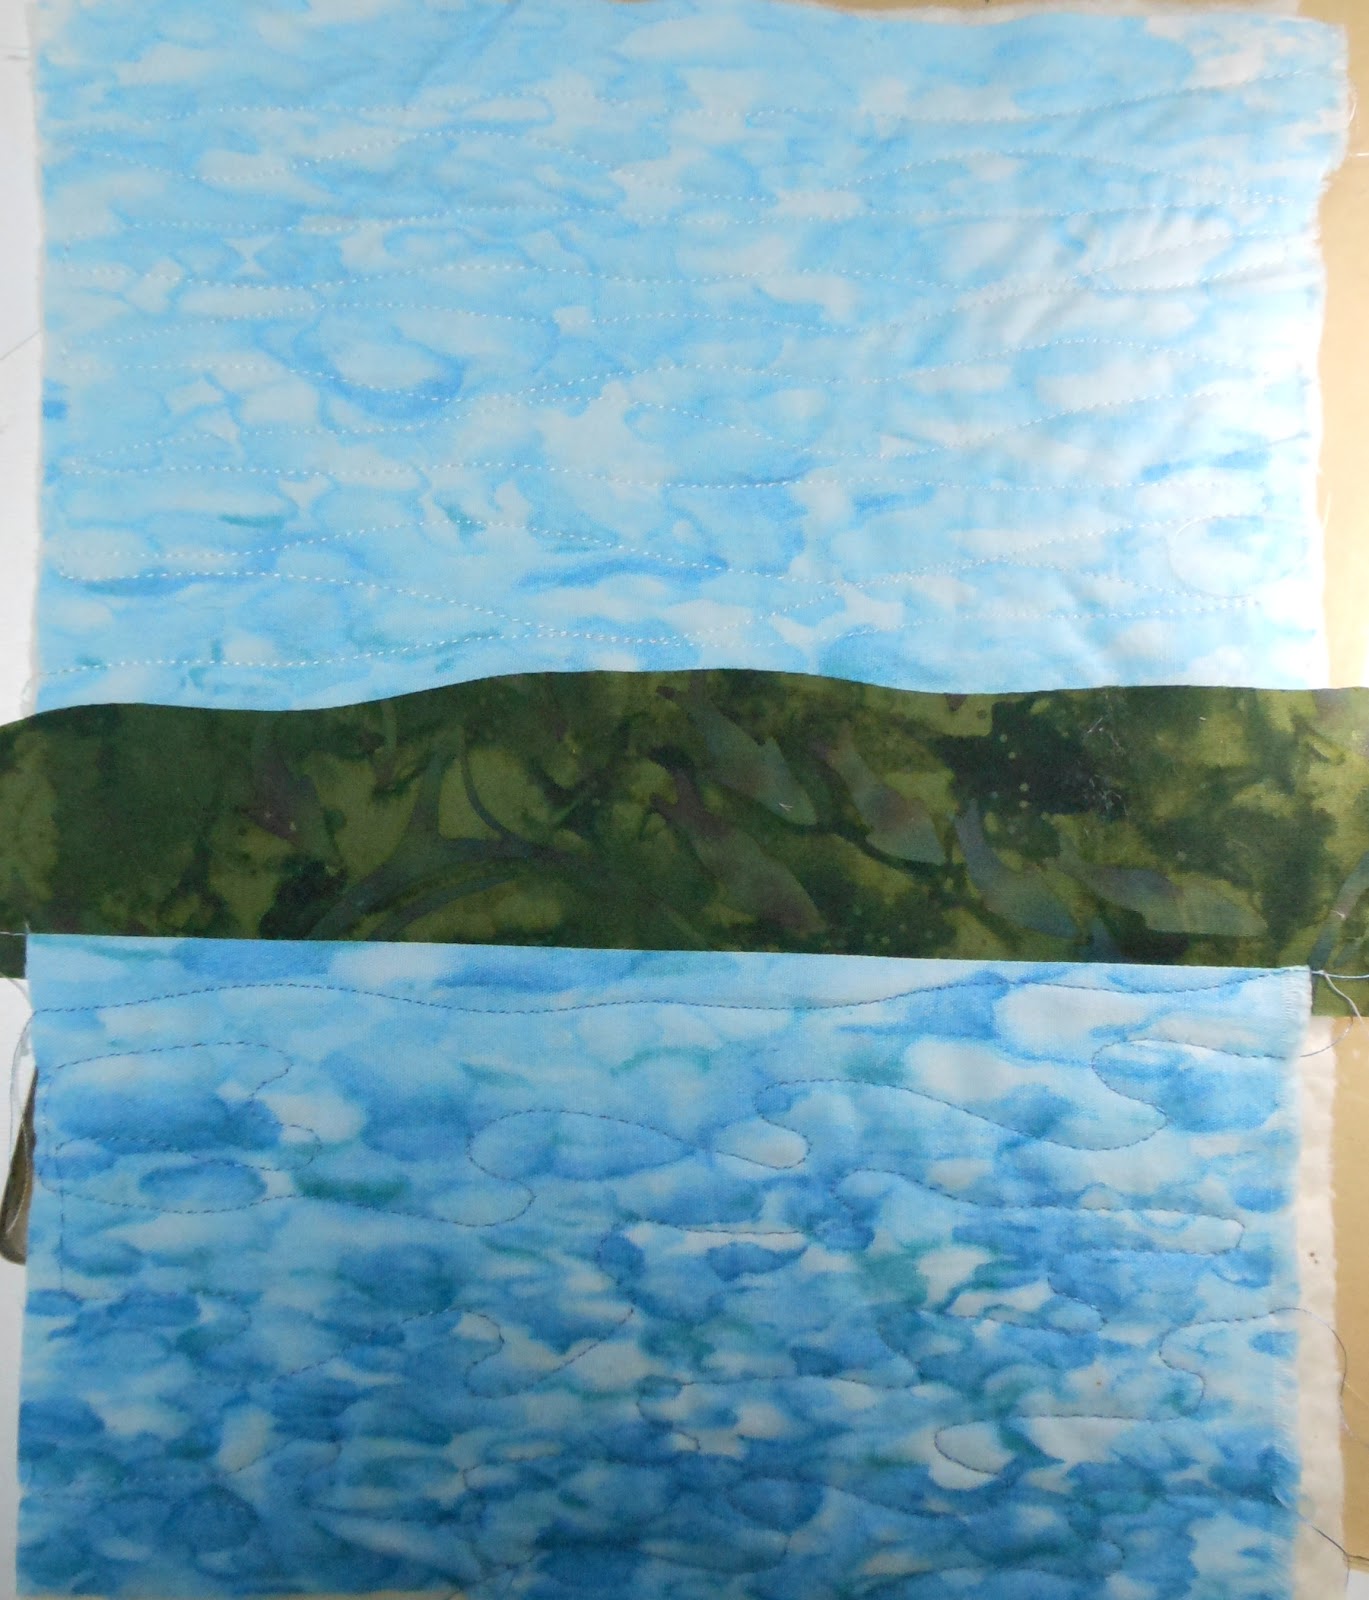
I start almost every block by quilting the background.  I just use batting and the background fabric.  There is no fabric on the back.  I will add the backing fabric when I put all the blocks together.
I quilt it. 

I had fun working with markers.  I bought this collection of Bic markers at AC Moore a few months ago.  It reminded me of when I was little and the thrill of getting that big box of Crayola crayons.  The label says permanent. 

Oh the possibilities!

Isn't this gorgeous?

Maybe they should call it semi-permanent?
I wasn't that concerned about using the Bic markers.  I used these markers to mimic the leaves and branch appliques from the chuppah.  I wasn't planning on wetting it. But I wetted a sample anyway. I did not try setting it with a hot iron.

But, I wanted to use a washable marker to mark the letters for the embroidery along the top of the block. Those colored lines would need to wash out. Speaking of Crayola, would their washable markers work?  I have used them in the past, but Test, Test, Test.


Can you see a bit of lettering left behind?  And surprisingly it's from the blue marker, not the pink.  Even after I test, I try to match the color of the marker to the color of the thread for the embroidery.  I have also used washable markers from the dollar store with success.  But I still test both the marker color with each fabric that I plan on using.

I have had a crazy busy Spring.  It has all been wonderful and fabulous.  It started with my book coming out.  Then I went to Kansas City for Quilt Market.  At the same time I had committed to a winter project for The Quilt Life which I delivered at Market.  Next on my agenda was my 3 day fabric dyeing retreat for a fabulous group of women.  Then the chuppah and the wedding. Plus my regular schedule of lectures, workshops, WW's and blogging.  I wanted to have a career as a fiber artist and I think I can say that I accomplished that. 

 I am ready for a vacation, but I don't want to go anywhere.  I just want to stay home.  So I have come up with a new pastime.  I have named it "couching".  It's not the thread kind of couching.  It's butt on the couch, feet on the coffee table kind of couching.

I used the computer for printing. 

What about that pedicure?  Marker.
 
And where did I get the image for my couching block?
Sometimes you just have to use the real deal, like a self-portrait!!

 
So this has become my 27th block.  I will need 54 blocks to make my 6 block x 9 block wallhanging at the end of the year. Since I am making one block per week and there are 52 weeks in the year, I need to make 2 extra blocks.   So at this halfway point, I thought this would be the perfect time for my plus one.

So you'll excuse me now.  I'm going to do some "couching"!

Tuesday, June 26, 2012

Chapter 2. The Chuppah


I started thinking about making this chuppah the same day my son got engaged.  The deal was if he got married by a rabbi, I would make the chuppah.  Since we know a wonderful rabbi, I figured that he would be an important part of the ceremony and I needed to design the most beautiful and meaningful wedding canopy that I could.

 I knew the basis of my design would include a tree. Trees are such a significant symbol for many situations in Jewish .  In the Talmud which is a book of ancient Jewish law, it says that a cedar tree should be planted upon the birth of a son and a pine tree should be planted when a girl is born.  When the boy and girl get married the trees shall be cut down and used to form a chuppah.

To add meaning to this piece of tradition, I sent out fabric leaves to all of the guests with a pen and directions for signing and writing a special wish for the couple.  These leaves would truly make the chuppah a canopy of warmth and love.


There is no standard size for a chuppah.  I decided to make it 6 foot square.  Based on my technique for appliqueing, I chose to make it in 4 quadrants.  I could deal with working on a section that measures 36"x36".  I chose a background fabric that looked like sky.  I backed it with low loft batting and quilted it with a straight line design.


I used a variegated rayon thread.

Then the branches were added coming out of each corner. They were fused and machine appliqued with a blanket stitch. The leaves were added next, except for the ones that would overlap another quadrant.

I squared it up and held my breath as I trimmed it.


I made 4 of these.

After trimming I stitched the 4 quadrants together and added the scalloped edges.I was planning on adding appliqued letters in both English and Hebrew in the center with the traditional saying, "I am my beloved's and my beloved is mine".  BUT, I  really felt liked I had achieved the vision of laying on your back and looking up through the branches and seeing the sky.   I auditioned many different types and colors of letters, but they all took away vision.

Swirls of blue organza gave the feeling of the sky without being distracting. 


On 2 of the swirls, I wrote those special words, both in Hebrew and English.


The final step was attaching the backing and quilting around all of the leaves and branches.  I bound it like I would bind a quilt. I did add a sleeve at the top and the bottom for suspending it from two wooden bars. Holes were drilled at the ends to attach it to the supports.

 
Planning the frame to hang the chuppah was the next challenge.  I use these quilt display stands when I lecture.  Their actual purpose is for hanging photography backdrops.

The tripod legs were left closed and inserted into a 2 ft length of PVC pipe that was inserted into a flange that was screwed into the dock.


It's hard to see from the photo, but the poles were set up so that they were lower in the back than the front.  The guests could then get a good view.
I wrapped the poles with a satiny type fabric.  I wasn't super happy with how it looked.  I thought I could wing it, but I feel like I should have made tubes and then gathered it around the poles.


A view from the dock.

The newlyweds were thrilled.