Showing posts with label DIY. Show all posts

Thursday, February 9, 2017

Before & After

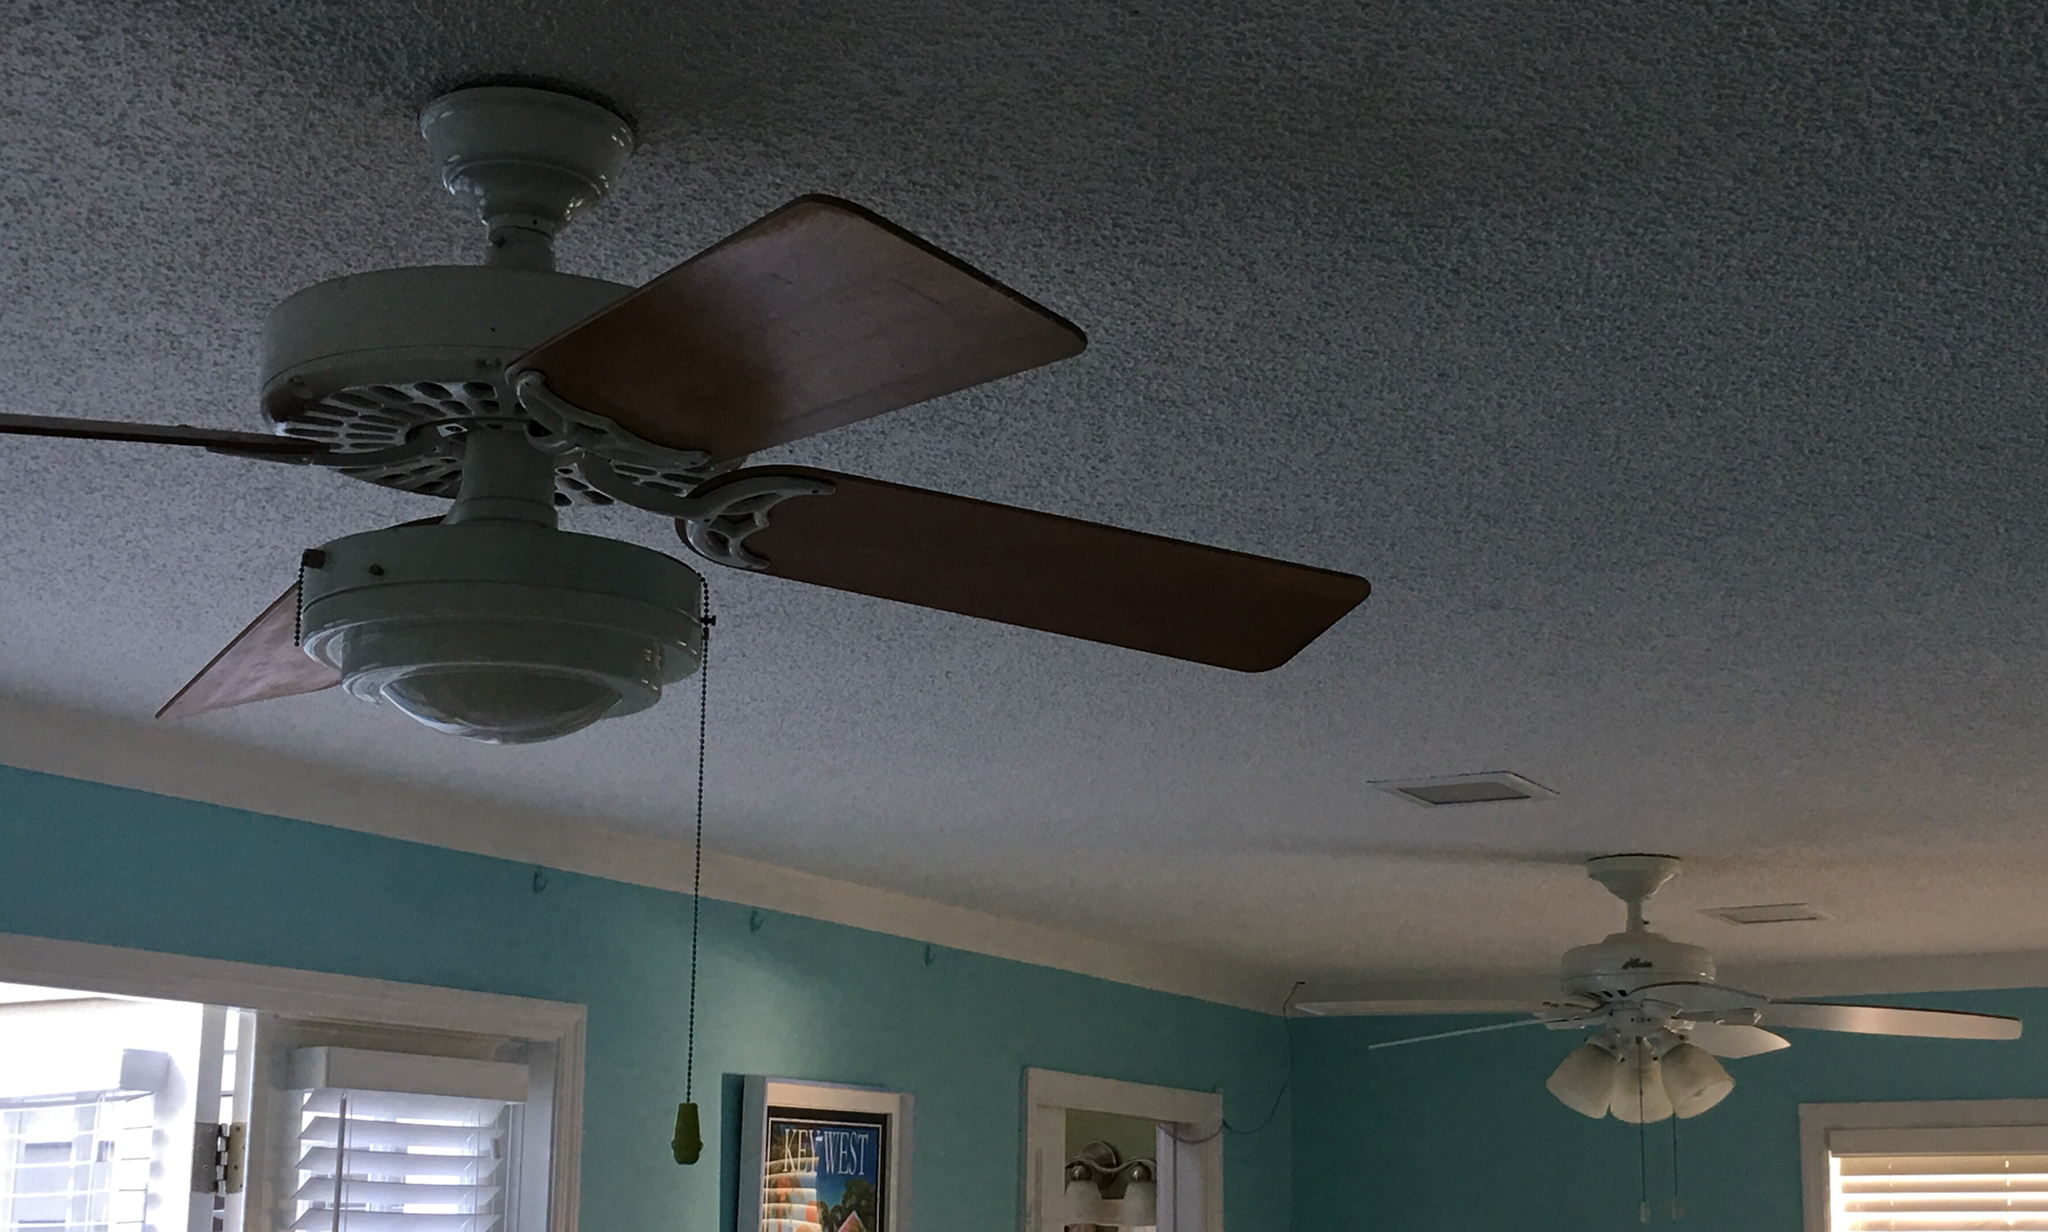
We have 2 mismatched ceiling fans on our first floor. They are only about 12 feet from each other.
They were like this when we bought the place. Not only are the light fixtures different, but the fan blades are different - natural wood and white! Who would do this? This was the year I was going to fix this. Buying new matching ceiling fans was not on the agenda and who needs more stuff in the land fill, especially here on this little island?
I love decorative painting and I love polka dots and luckily I have a partner in crime, who is willing to work with me. The blades were removed from the fans and were made to look alike. I gave them both a coat of white paint and added key lime polka dots! So adorable and so Key West.
And replacing them was my "handy man". The blades need to be balanced for the fan to spin without wobbling. Would you think about weighing them to make sure they weighed the same?
This looks so much better.
Just enough flavor of the island. Speaking of island flavor, here are a couple of sights from the last couple of days.
We have a resident iguana. It's a big one. Here he or she is at the edge of the pool. Luckily there was a fence separating Bailey from the iguana. She was barking like crazy, but the iguana did not move.
And check out this adorable VW Beetle. A Barbie car? Is it about cupcakes? Whichever one, it's unmistakenly visible, especially for you pink lovers.

I hate to gloat because a snowstorm is hitting PA, but it's just another week in Paradise!

****************************************************************************

To subscribe to my newsletter, full of inspiration and quilty goodness, click HERE; and to follow me on IG: @CherylLynchQuilts and FB: Cheryl Lynch Fiber Artist

Saturday, October 3, 2015

It's Here!!!! The Convertible Backpack

I am so excited.  I have worked so hard on this pattern and I know so many of you have been waiting for it.  The Curvalicious Convertible Backpack has taken me about 5 months to write with lots of photos, photo retakes and lots of edits, from its inception to the finished pattern. I wanted to make sure I got everything right.  It's a unique idea and I  wanted to make sure that the instructions were clear and well written.
So what is a convertible backpack?  This quilted bag, that is made using Curvalicious for the outside, can be worn as a cross body bag.
Then with a simple lengthening of the strap and the click of a swivel clip, it becomes a backpack.
There's a zipper along the top edge that is super easy to sew and there are pockets inside. 
I made mine for a trip, so I created  pockets to hold my tablet as well as my cell phone, passport and pens.  The interior is large enough for my camera and sketchbook. When I traveled in the country, I wore it as a backpack.  As soon as we arrived in Paris, I converted it into a cross body bag, for safety.   I found when I returned home, it was a great every day bag too. Can you tell I'm in love with this bag?
I searched around for the different types of hardware needed to complete the backpack. It took me a lot of shopping and googling to find the types I wanted to use.  To make it easier for anyone that wants to make one, I decided to include the assorted hardware with the pattern.  There's a choice of nickel or antique brass.  And if you want to make more than one backpack, you can buy just the hardware, with no extra charge for shipping.

Where to buy?  My etsy shop.  Click HERE and it will take you there.  I printed 50 copies to start.  I'm not sure how long they will last.   Patterns will ship out either the day I receive your order or the next time the post office is open.  For you late night shoppers, it will ship out the next day.  If I will see you soon at a show or guild meeting, let me know and I'll set one aside for you.  I know you'll love this bag as much  as I do. 
 Plus, if you live near Horsham, PA. I'll be teaching this at The Round Bobbin in 2 class sessions starting in November.

BTW, didn't I find the cutest model? I think she has a future.  
 She's one of my closest friend's granddaughters.  Thx Maddie.


Monday, May 25, 2015

Au Revoir Mes Amis

Good Bye?  Where am I going? Where have I been?

Let's start with where have I been.  I have been in my studio sewing my little heart out.  I'm working on a hush hush project, so I can't share.  I'm not even sure when I can share, but if you love Curvalicious , you will be very interested.  I promise to let you know as soon as I can. 

In the meantime, I have been getting ready for a trip to France.  Oh I can't wait.  It's to celebrate my 40th wedding anniversary.  I don't know how life rushes past, but it does somehow.  So I'm going with my best friend and my son and DIL on a river cruise. The first item in my carry on is my hand stitching and then I loaded a couple of books onto my ipad for the flight. I'm ready! 
I promise to post photos, lots of them.

In the meantime, I had an idea in my brain and some free time, while the clothes were in the washer, so this is what I made:
 It's a wine carrier that I used Curvalicious to create.  If  you live in the PA/NJ/DE area, the shore/beach is the place to be during Memorial Day, the unofficial beginning of summer. 
So I chose this cool beachy print, called Barnegat Bay, that I bought last summer. 
The batting is insulated to keep drinks cold.

Here's a quick tutorial.
 To start with, you will need:
                    * Fabric for the applique (4"x 20") with fusible on the back
                    * Fabric for the background (6" x 20")
                    * Fabric for the lining (6" x 20")
                    * Fabric for the handle  (4" x 20")
                    * Fusible fleece (2" x 20")
                    * Insulbrite  (6" x 20")

The first step is to cut out the Curvalicious applique.  After applying the fusible web, remove the paper and fold the 4" strip in half, fusible web side out.
Place one edge of the ruler on the fold and cut out with a 28mm rotary cutter.
Center the applique on the background fabric. 
 Press in place, following the directions for the fusible web.
Stitch using a blanket stitch.
Add 3 fusible circles using the ruler for placement and stitch in place. 

Place the fabric on top of the Insulbrite(an insulated batting) and quilt.
Fold in half, right sides together and stitch each side from the fold up with a 1/4" seam allowance.
Form a gusset on each side by aligning the seam line with the center bottom line.
Stitch across 3/4" from the tip.
  Turn right side out.
Here you can see the gusset.
Create the lining from the 6" x 20" blue fabric.
Fold the lining in half, right sides together.
Stitch with a 1/4" seam allowance and sew the gusset the same way as for the outside.

 Use the 4" x 20" piece of fabric and fusible fleece to make the handle.

Lay the fleece down the center of the wrong side of the fabric, fusible side down.
Using a hot iron and steam, iron the fabric over the fleece so that it meets in the middle.
Then fold it in half again. 

Stitch along the edges and down the middle.

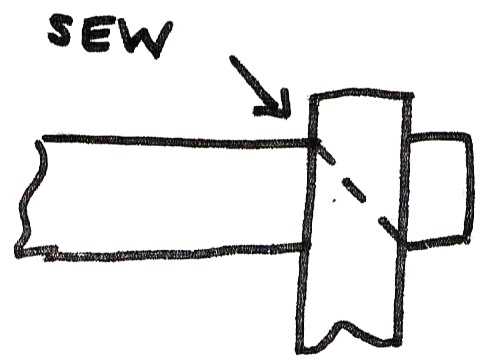
Place one side of the handle over the seam on the right side.
Repeat for the other side.

Cut a slit 4" long along the bottom edge of the lining.
Slip the lining onto the wine carrier right sides together, matching the seams.

Stitch around the top edge with 1/4" seam allowance.  
You will need to use the free arm of your sewing machine and a walking foot.

Turn the bag right sides out using the slit in the lining.
Stitch the opening in the lining closed.
Push the lining into the bag and stitch along the top edge, a scant 1/4" from the edge, through both the bag and the lining.
And it's done!
Use it to transport wine to a party, 
or to carry and keep your water cold.
It's a keeper- and what a great hostess gift.

Wednesday, September 11, 2013

The 1 Hour Apron

 
I received a lot of requests for the directions to make this simple and easy apron. It is the perfect project to showcase a beautiful fabric or to make great holiday gifts.
 How about one for each holiday/season?
It can be made in 3 sizes and there's only 1 template per size.
 
You will need:
2- 1/2" D-rings
For the adult size:  1 yd for a one fabric apron
          (1 1/4 yd if the fabric is directional and the pocket needs to be cut from one selvage to another.)
          (You will need 1/2 yd of another fabric if you are going to make a contrasting pocket and ties.)
 
Childrens' size:  3/4 yd for a one fabric apron
                          (You will need 1/4 yd of another fabric for a contrasting pocket and ties.)
 
Cutting Instructions:
Cutting instructions are given for the adult size.  The children's sizes are in parentheses.
 
Below is the cutting diagram for bot the adult and childrens' aprons.  Use this as a guide.
  • Cut 2" wide strips for the ties.  You will need 3 (4)
  • Cut a rectangle of fabric measuring 24" wide x 30" long. (13"W x 20"L)
  • For the pocket, cut a strip that measures 8" high x 24" wide. (5" H x 13"W)
 
Here's a chart summarizing:

These are the only templates you need.  It's for cutting out the armpit.
 Click on this LINK . Open the template in another screen and you can print it.  Double check the size using the ruler as a guide.
 
Cut out the armhole using the template and orient
 it according to the pattern with the fabric folded in half.


Apron Construction:
1.  Fold under the top edge of the pocket 1/4". Press.
2.  Fold under again, a generous 1/4" .  Press.
3.  Stitch 1/4" from the edge with a matching thread.
4.  Topstitch as close to the edge as possible with a matching thread.
5.  Fold under the bottom edge of the pocket 1/2". Press.
6.  Position the pocket on the apron so that the bottom of the pocket is 9 1/2" (4") from the bottom edge of the apron.
 
7.  Pin the pocket in place and stitch along the bottom edge, 1/4" from the fold.
8.  Topstitch as close to the edge as possible.
9.  To make sections in the pocket, stitch from the bottom up about 1/3 of the way in from each edge.

 
10.Around the entire apron, except for the arm holes, fold under the raw edge 1/4", then fold it under again another 1/4".  Press. Sew 1/4" from the edge.
11.  Topstitch as close to the edge as possible.
 
Making the Ties:
 
Two ties are needed for the apron, 46" and 50" (35" and 39") in length.  If the 2" strips you cut are not long enough, you will have to join them. 
 
To achieve the least inconspicuous seam, join the strips at a 45 degree angle.  Place the strips perpendicular to each other, right sides together.  Sew from the inside corner straight to the outside corner.  Trim the seam to 1/4" and press open.
 1. Fold under 1/4"to the wrong side at each end of the ties. (you will do this 4 times.)
2.  Fold each tie in half lengthwise, wrong side in.  Press.
3.  Open and then fold each of the raw lengthwise edges to the middle.  Press.
4.  Fold in half again lengthwise.  Press.
5.  Following the diagram below, pin the ties to the apron with the arm hole fabric tucked inside each tie, leaving a 24" (20") tail at the waist.  (There will be as difference in length at the neck.)

 6.  Sew the ties to the apron and finish the ties by sewing continuously along the lengthwise edges close to the edge.
7.  To add the D-rings:
  • Using the shorter  of the apron ties, slip on 2 D-rings.
  • Fold over 1" of the tie and stitch close to the end. (3X)
  • Stitch across the tie as close as possible to the D-rings. (3X)
  • And now you're ready to cook! Bon Appetit,
Follow on Bloglovin