Showing posts with label dyeing. Show all posts

Thursday, April 4, 2013

Why Do I Have To Dye My Own Thread?

I know I have said this before, actually many times.  I make my life so much harder then it needs to be.  I am finishing up a project and want to do some hand stitching/embroidery in the borders. Couldn't I use commercially available thread? Isn't there some color that would work for me?
Noooooooo, I have chosen to dye thread for this project.  I want it variegated.
 
Thread dyeing is actually very easy.  this project took me all of 2 hours, including digging out my dyes and prepping my work area and the solutions. 
 
I decided to dye 3 different threads.
 This is a cotton crochet thread that I bought at AC Moore.  It is a 10 weight.
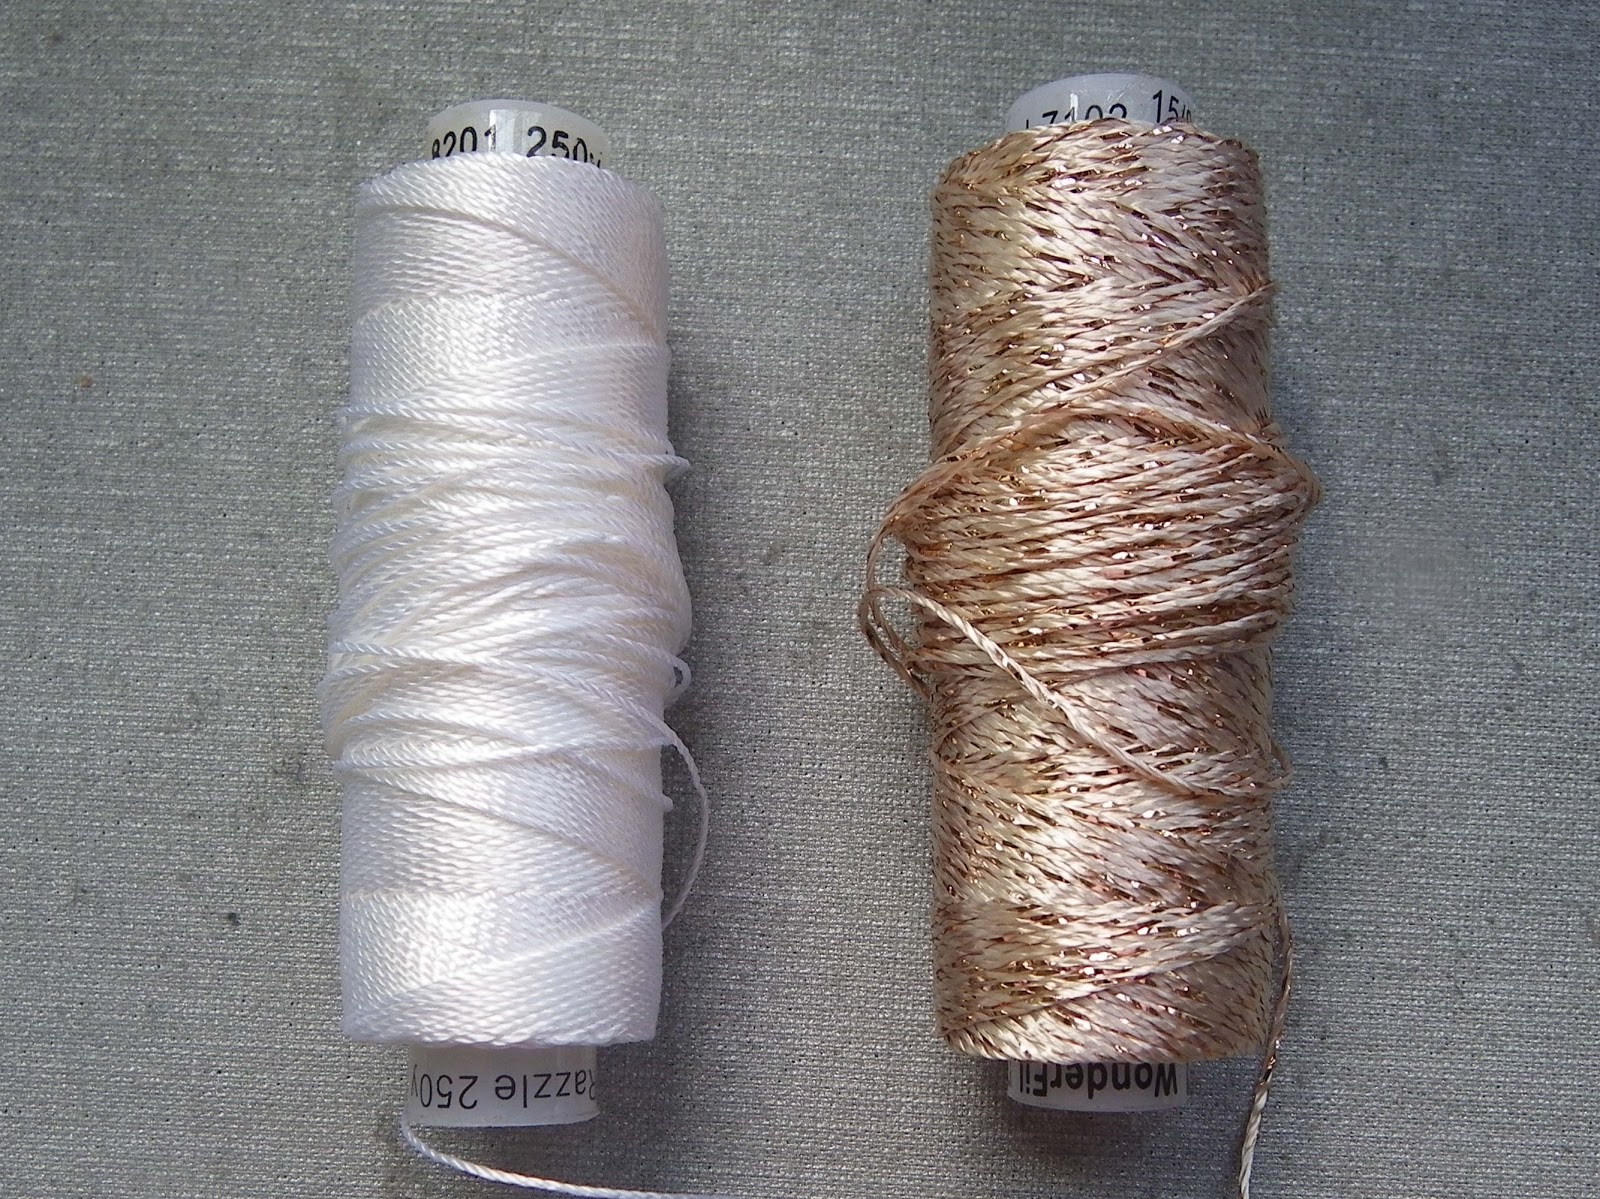
These threads are rayon and they are sold by Wonderfil.  They are both 8 weight.
The one on the left is called Razzle. 
 The one on the right is Razzle with one strand of metallic thread and it is called Dazzle.
The first solution to prepare is a soaking solution made from soda ash. It is actually sodium carbonate and can be bought from a dye house or from a swimming pool supply store.
*****When working with any of the solutions and chemicals, you should :
Wear gloves and protect your clothing. 
Any items used for dyeing should be dedicated for dyeing only. 
Never use measuring utensils for food prep afterwards.
Never store any of the solutions with food.
 
Step1:Soaking Solution Prep
Add 1/2 Cup of soda ash to 1/2 gallon of warm water.
Step 2.  Soak the thread in the soaking solution for at least 15 minutes, but it can be left longer.

 Step 3.  Make up dye solutions in the proportion of 1/2 tsp of dye powder in 1/2 Cup of warm water, using Pro MX Fiber Reactive dyes. (I buy mine from ProChemical  & Dye Company.)
 (Use a dust mask when measuring out the dye.)
 To avoid the dye from clumping, add a little bit of water to make a slurry and then slowly add the rest of the water.  Label all of the jars.  These dye solutions last for several months at room temperature. (I used chartreuse, turquoise and grass green.)
 Step 4.  You can test the colors and how they will interact using a paper towel.
 Protect your working surface with either plastic wrap or work in a plastic bin. 
 Step 5.  Make a skein of thread and lay it out on the plastic wrap.
 Step 6.  Paint on the dye with a dabbing motion using the foam brushes. 
Make sure you have one brush for each color.
I overlapped all of the dyes to get more of a variety of colors.
 Step 7.  Wrap the dyed, wet thread in the plastic wrap and let it sit overnight.
 Step 8.  Wearing gloves, remove the thread from the plastic wrap and rinse it in cold water,
until the water is clear. Hang it to dry.
 
I used the same dyes on all 3 of the thread types.
The threads from the top down are: Dazzle, Razzle and cotton crochet thread.
 
Notes:
1.The soaking of the thread in the sodium carbonate solution is the most important step.  Without this step, your dye will wash out or run if it is washed.
2.  All of the literature I have read indicates that the dye and dye solutions are non-toxic.  As a former chemist, I treat all chemicals with respect and treat the dyes and solutions as if they are toxic.  Better safe than sorry.
3.  The dyes will stain your hands and your clothes.


Friday, December 31, 2010

Dyeing Wool

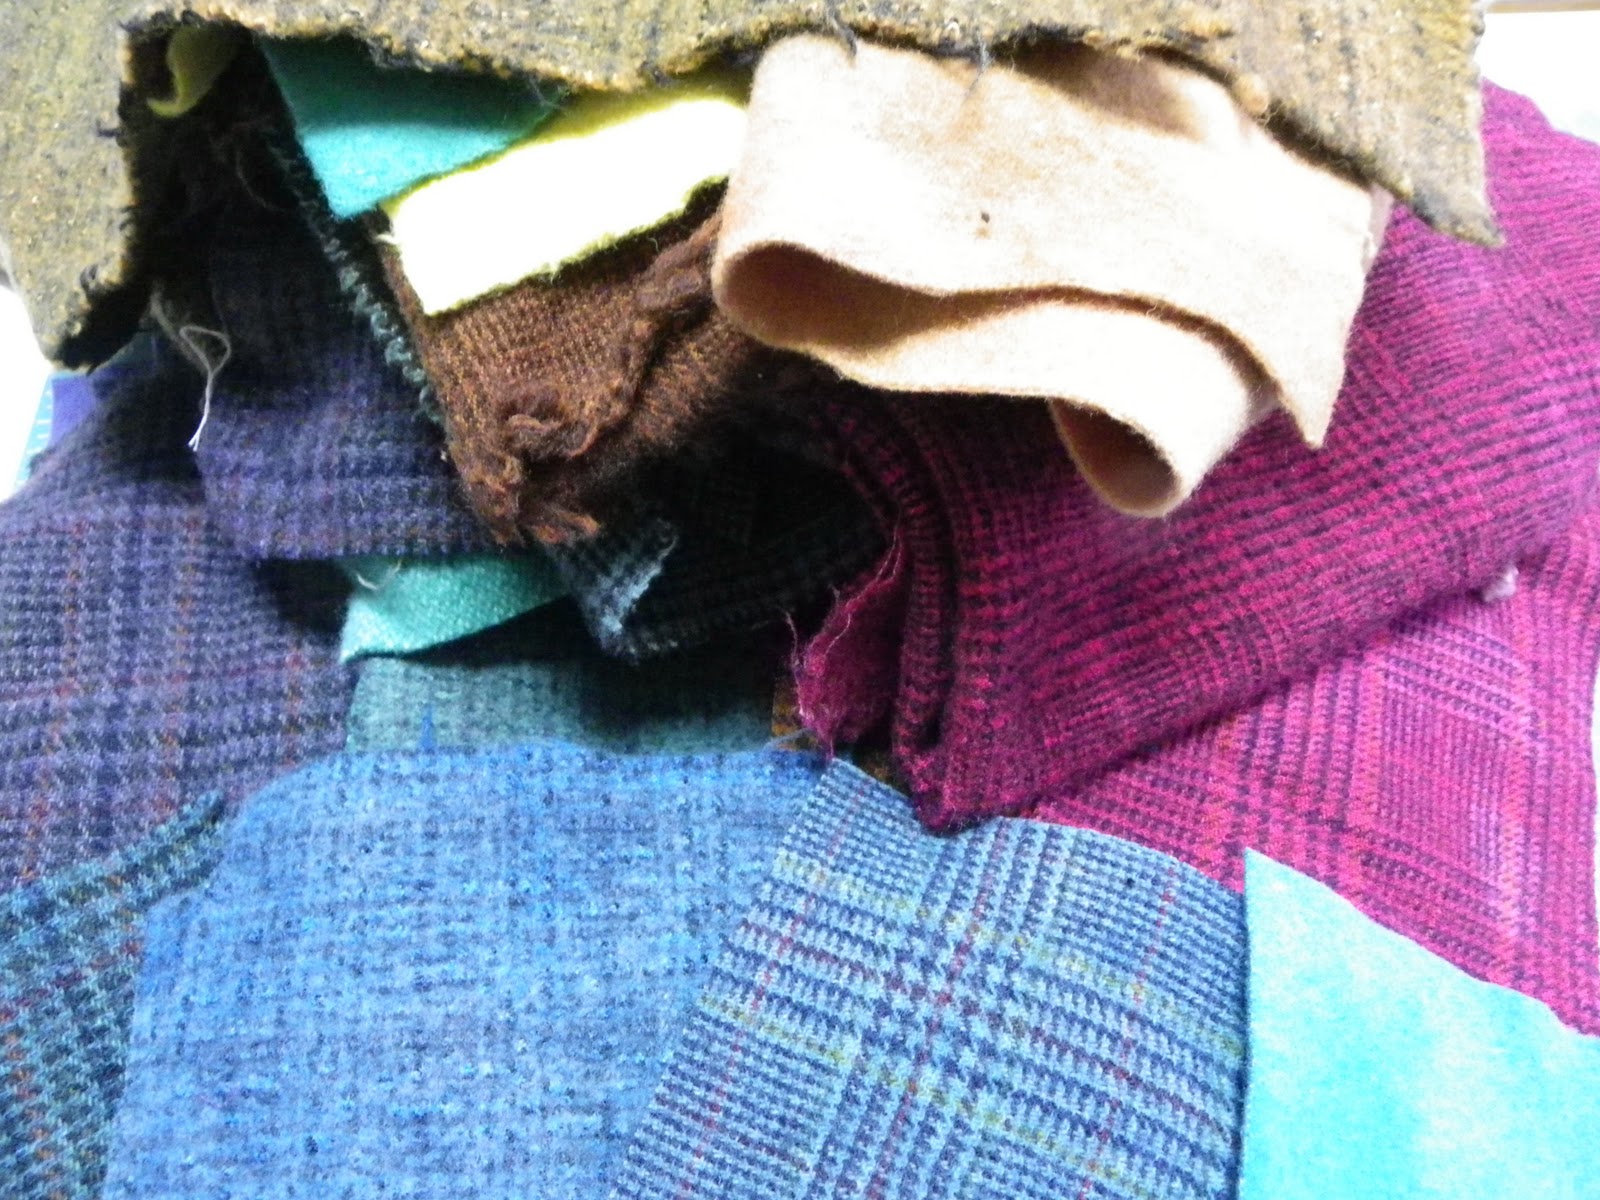
I know many people spend days baking cookies to get ready for Christmas.  I don't really enjoy baking.  Instead of spending days baking, I spent days dyeing wool.  It's kind of like cooking.  You use a pot and a stove.  I had to wait to share my "cooking days"  because much of the wool was meant to be holiday presents for some of my quilting friends.


I do have designated pots and utensils set aside just for dyeing.  I also had a stash of an assortment of wool.  Dyeing wool requires acid dyeing which is different than the dyes used for cotton.  Dyeing wool requires heat, which dyeing cotton does not. 


Since I have quite an assortment of dyes for cotton, actually too many, I decided to order a sampler kit from ProChem.  The kit included 6 different dyes, Synthropol - a detergent and citric acid crystals for acidity.


To open up the fibers of the wool so that it accepts the dye easily,  the wool is soaked with some detergent.  Pro Chem's directions indicates 1 hour with Synthropol.  I have seen other directions where you use dish washing soap, like Dawn, and soaking time up to 24 hours.  Since I bought the ProChem kit, I decided to follow their directions.
After 1 hour of soaking, wring out the wool and place it in the dye bath that includes the dye, salt and citric acid dissolved in water.  Turn on the heat and then "cook" for 1 hour.  The more you stir, the more even will be the dye.
Doesn't that color look yummy?
The big difference between dyeing a protein fiber such as wool and a plant fiber such as cotton is what the dye bath looks like in the end.  When dyeing the plant fiber, the dye bath is colored when finished.  The longer you leave in the fabric, the darker it becomes.  With the protein fiber, dyeing is complete when the water is clear and colorless.  It is said to be exhausted.  The fabric at that point is as dark as it is ever going to be.

The excitement is seeing how the different patterned wools take the dye.  This is exciting.  When the dye bath is exhausted, I dump the whole pot, fabric and water, into the sink and let it cool until I can handle the wool.  Then I take it to the washing machine, wash it with cold water and then into the dryer.
VOILA!

and this is what 7 of the different wools look like all dyed together in the blue dye bath.
I love how the different patterns turn out so differently.

So instead of packaging up a bunch of cookies, I trimmed and cut and rolled and delivered some hand dyed wool as holiday presents to my quilting friends.  No calories!

Friday, February 27, 2009

In The Beginning


I am entering the world of blogging to share my excitement and enthusiasm for quilting. There are so many different ways that you can express yourself with all those wonderful fabrics out there. I love brights, primitives, contemporary, reproductions, hand dyes - I guess I love them all.
I belong to a great quilt guild (www.CalicoCutters.com) and have been an active member. I look forward to every meeting to see all these wonderful women who I consider my friends. We have a great Show N Tell and great speakers. The meetings certainly charge my creative batteries. I recommend that everyone finds a guild or some type of group to share your creativity and to help with your growth process.

I also belong to a small art quilt group. Our initial name was the Quiltinis. It's a fun name, but we decided that we wanted to be more serious, so we renamed ourselves, "Layers - Art In Stitches". We try to meet at least twice a month. Sometimes it's to discuss and share our work and sometimes it's for a road trip. We are working on our 2nd challenge. The theme is "Something Old is New Again" with assorted rules. We keep our work secret until the big reveal. Next Weds is the big day, so I can't share my quilt yet. Stay tuned.


Our first challenge is currently displayed in the Marple Township Library until the end of February. The theme was Woodland Trails. The only rule was that it had to be 24" x 24". I named mine "Crossroads", indicating my time conflict between being at my sewing machine or being on my bike. Right now the sewing machine is winning.

Here's a photo of my challenge:


Except for the center panel, I used fabrics that I dyed from a kit I bought from ProChem & Dye(http://www.prochemical.com/). It was their earthy blend gradation dying kit and I ended up with 30 fat eighths. It took a while to set up and mix the 30 color combos, but it definitely was worth the end result.