Showing posts with label Curvalcious tool. Show all posts

Tuesday, April 21, 2020

How To Create A Scalloped Border For Your Quilt

In my last blog post I shared my most recent mosaic quilt, "Whitney Lake".  If you missed it, you can find it HERE.

I like using a scalloped border, whether it is the inner, outer or edge.  
It really makes a plain border, very elegant and special.
I used it on my quilt, "South of France", as the inner border:


and on my first large mosaic quilt," Keyfetti Fish", created while wintering in Key West. This border is scalloped and a facing was used to finish the edge. (It was photographed on a black background.)
35" x 48"

I have used a few diffferent methods to create a scalloped border for a quilt.  The key to them all is, Curvalicious.It's a cutting guide I developed about 5 years ago.  I designed it to make curved looking quilts, but I found out that I could use it for amazing and complex looking borders.
It measures 24" long.  The Curvalicious website shares lots of ways to use it as well as a link to my YouTube video demoing it as a border tool.

When the quilt's dimensions are divisble by 6, a mitered border might be the best method to use.  Otherwise, the method I used for Whitney Lake works well and is pretty simple.

First, I added a 4" border all the way around the quilt.


 After quilting the border, scallop the border using Curvalicious and a 28mm rotary cutter.


 It is a bit of a challenge to cut through all the layers, but it's so worth it. Sometimes you need a little scissors help. To achieve balanced corners, make sure you stop about 6" from the edge.

Using tracing paper or parchment paper, or any paper  you can see  through, create a curved corner.  I fold  the paper in half to make sure it's symmetrical. I use that template to trim each corner.


Then I made a 2" strip of bias binding.  After stitching it to the front with 1/4" seam allowance, I turned it to the back and with the help of wonder clips, I handstitched it to the back.

And Voila!
A border that really frames a quilt.


Follow on Bloglovin

Wednesday, October 25, 2017

4 Cakes Are Better Than 1

 This post will be short and sweet as I'm heading out to Quilt Market in Houston tomorrow morning at the crack of dawn.  It's the largest trade show for the  quilting industry.  I'm introducing my Mini Mosaic Quilts patterns and kits.  It's a big deal and I'm keeping my fingers crossed.

In the meantime, the challenge for the Island Batik Ambassadors this month is creative borders and bindings.  

Of course I had to use my Curvalicious to create my border.  It is such a versatile template that makes the most intricate looking borders using fusible applique.

  It looks complicated, but it's very simple.  If you want to see how to create these borders, I made a video that you can find at www.Curvalicious.net.  You will also see many other ways to use Curvalicious.

I cut and stitched the border before attaching it to the quilt.  That made it less cumbersome to stitch.  Then I attach it to the body of the quilt.

This is the quilt before it is quilted- a beauty shot.

I chose to use my walking foot for quilting and I chose a curvy pattern - just like Curvalicious.  

I matched the  thread to the background so it only showed up on the cake and cake stand.
The final quilt is adorable and perfect as a celebration or birthday quilt.  I named it "If 1 cake is good, 4 cakes are better!"

Yum!

I am offering a free pattern for the cake block. I will share a link in my November newsletter.  

To get the free block pattern, sign up for the newsletter, by clicking  HERE.
and
Remember life is short, eat dessert first!

Saturday, June 4, 2016

So Excited! It's Here!!!!

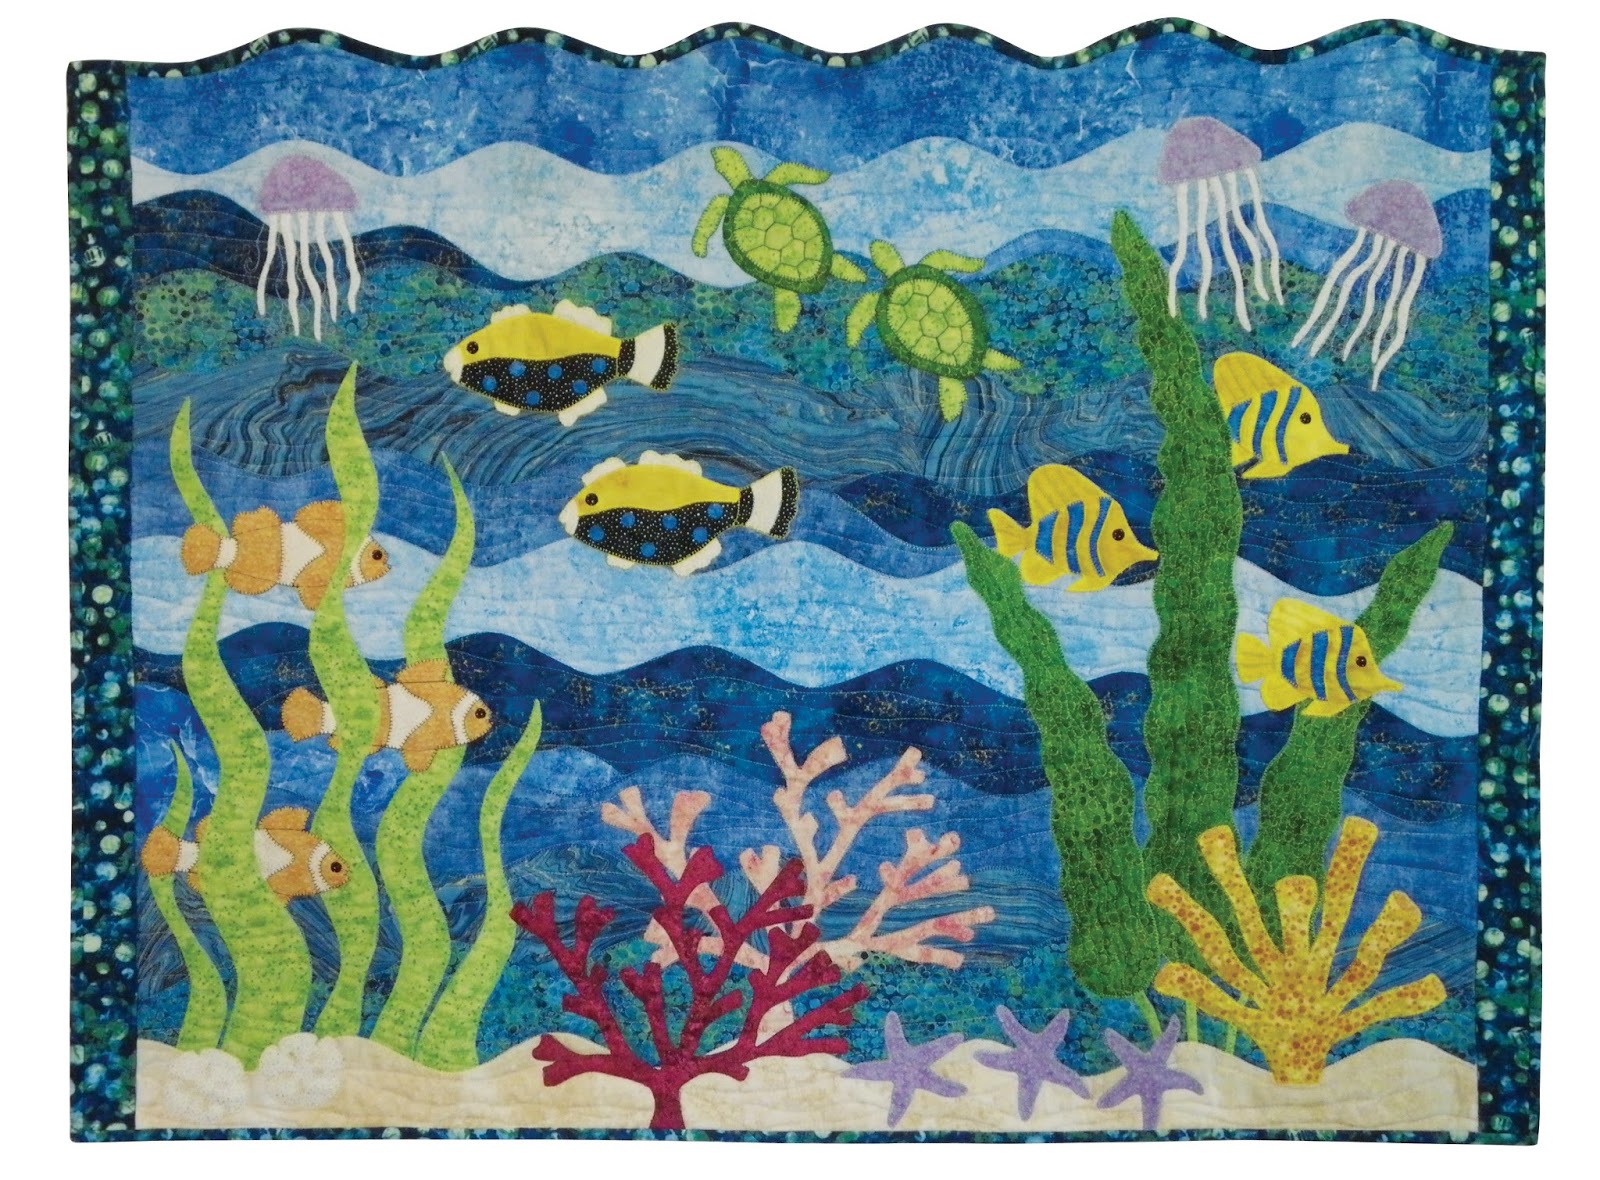
I am so excited.  My newest Curvalicious pattern is now done, printed and available for purchase!
 It's called "Fishalicious" and I am so thrilled with it.
I had so much fun designing it.  It brought back memories of my one son's childhood. When he was 11, we were on vacation in Key West, staying at a Hilton. He decided he wanted to take a scuba diving lesson that was offered at the hotel.None of us knew how to scuba, but he wanted to do it.  He took the lessons and then went out on a boat with his instructor and my husband as a chaperone.  He had a blast.  So for his Bar Mitzvah gift from us, he asked for a very unusual gift. He wanted to become a certified scuba diver. He found a school outside of  Atlanta and he was determined.  We put him on an airplane at 13 years old and he returned a week later with his certification.  
What a special kid! 
I used Curvalcious to create all of the  waves, the  ocean floor and the plant life on the left side. The pattern includes a 2 page full size newsprint layout.  
 with lots of colorful figures included in the directions.


The top edge is Curvalicious wavy and there are lots of quilting details for the appliques.


I know a bunch of you have added your own touches to Beachalicious and I think this pattern is perfect for the same treatment.  You can change the colors of the fish, add different fish, leave out fish and if you're a crab lover, there's plenty of room for that too.  
Or you could even add your own scuba diver!
I love seeing your creativity and how you alter my patterns!

So will you add this to your list of Curvalicious quilts to make?
Or will this motivate you to finally purchase a Curvalicious tool?
Either way, know that your success is important to me and I will offer as much support as I can, with more patterns, tutorials and videos in the works on the Curvalicious website;
and to purchase any of my patterns or the Curvalicious tool, visit my Etsy shop.
If you want to be among the first to be notified of new patterns, tutorials and videos, sign up for the Curvalicious newsletter using the sign up box located on the right side bar of this blog.
HINT: a new video is in production that will change how you do borders

So, this one is for you Roger!